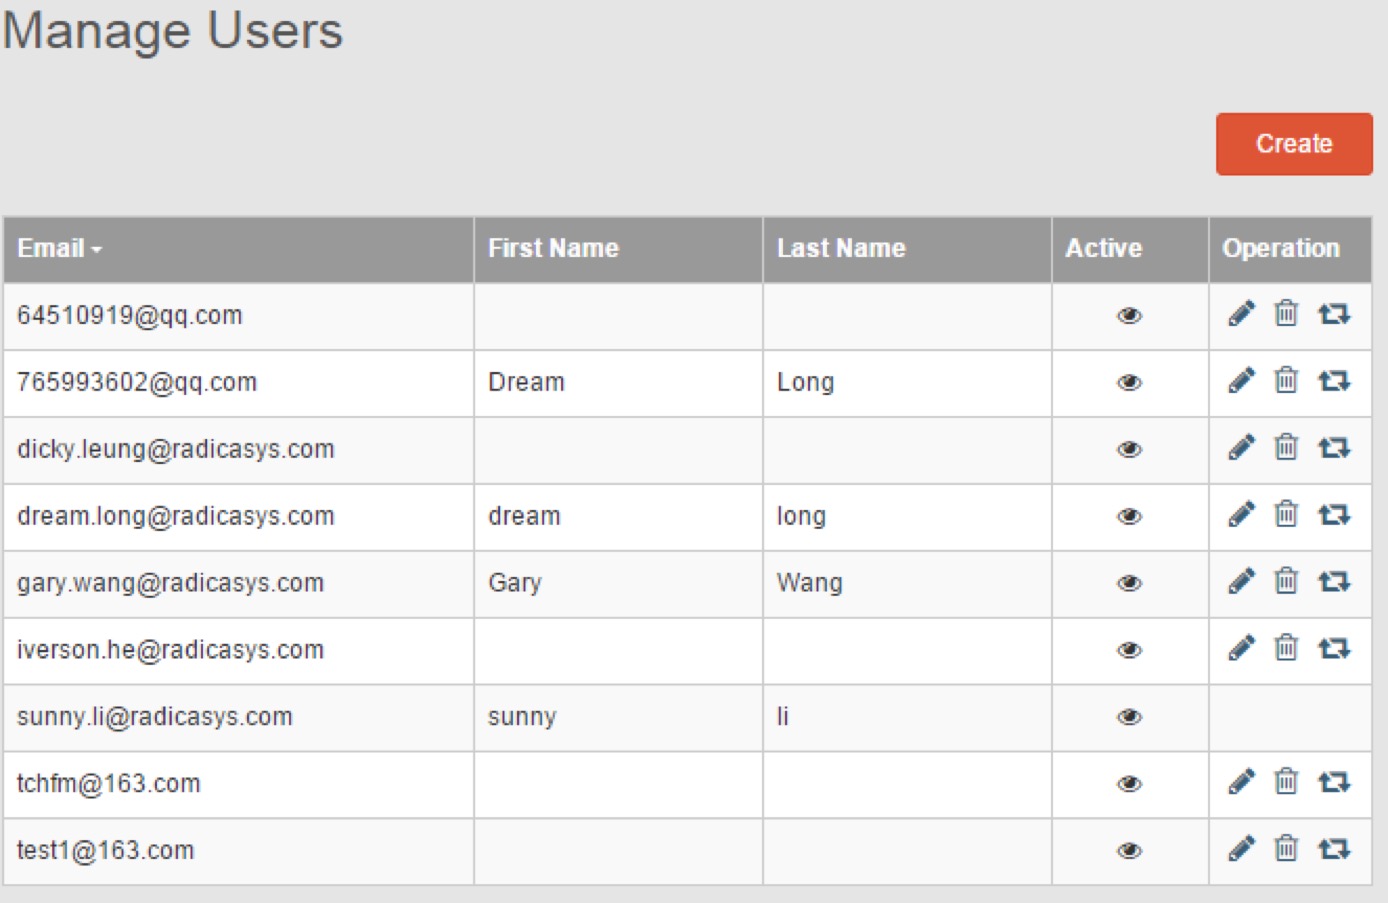
You can manage your users in RiManggis. Click ‘Users’ in administration menu and enter user management page, you can view all users created in database.
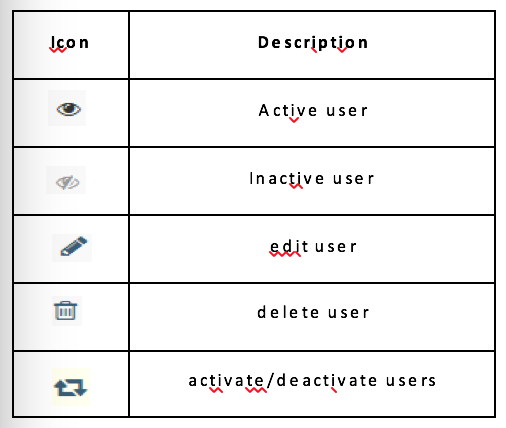
The following table describes the usage of icons used in user management.
User management icon
Create User
RiMANGGIS takes users email address as identification information to distinguish user accounts, all notification messages are sent to users via emails. You must use correct email address information to create new user.
- Click Create to enter following page.
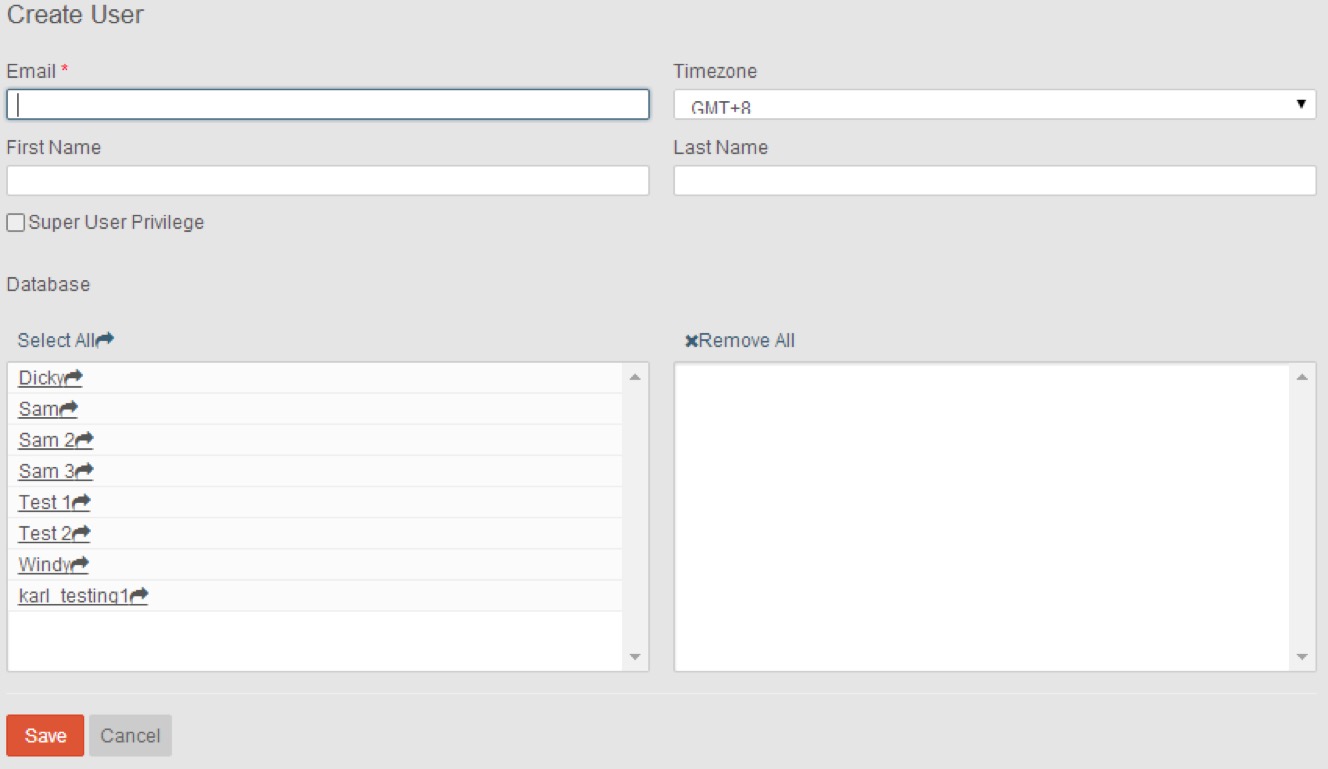
- Input correct email address in the mandatory field ‘Email’.
- Set your new user’s timezone according to his or her local time.
- Fill in first name and last name information for your convenience to easily recognize your users.
- After filling all basic information, you need to grant database rights for your user. If the created new user needs all operation rights including administration in all databases, you must select the check box ‘Super User Privilege’ to grant super user right to the new user.
- You can optionally configure the database and roles for the new user according his or her operation requirement In ‘Database’ working area, the left column lists the entire database in RiMANGGIS, and the right column lists the configured database and roles for the new user.Firstly you need to select the database which the user can access in left column, and then click the option ‘Click to select role(s) under this group’ below the selected database in right column. All roles set in RiMANGGIS will display below selected database, you can click the role check box to configure roles, and then click ‘Done’ to finish the database and roles configuration for the new user.
- Finally click Save to finish your settings for the new user
The new user will receive an account activation email after it is created in RiMANGGIS.
For new user’s account activation, please refer to Activate your account.
Edit User
If you need to modify user information, you can click  to enter user edit page. You can modify information fields including timezone, first name and last name, and change your user’s database and role configuration.
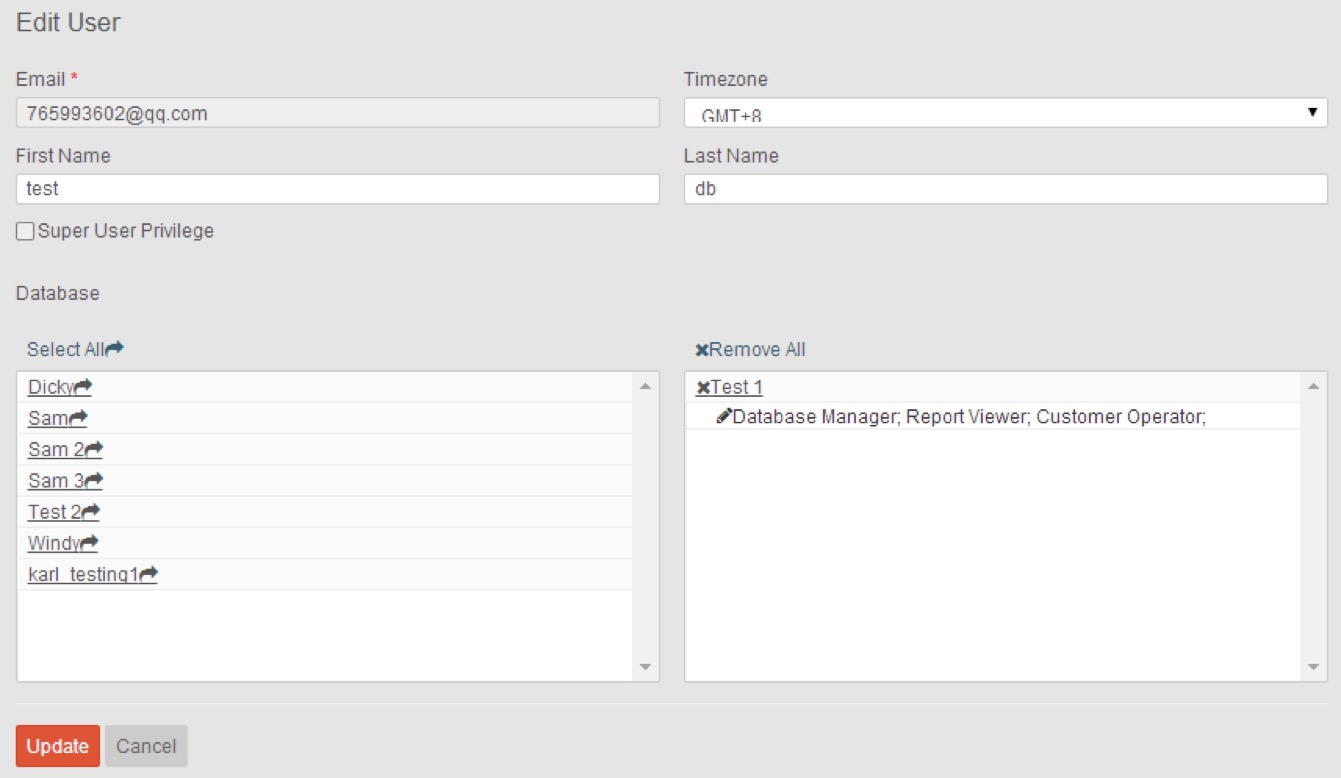
Finally click Update to save your modification.
Activate/Deactivate User
You can click  to activate or deactivate users. Deactivated users cannot log in to system and make any operations. The column Active indicates the status of users. Active users can access assigned database and make granted operations. Inactive users are deactivated and cannot access database to make any operations.
Delete User
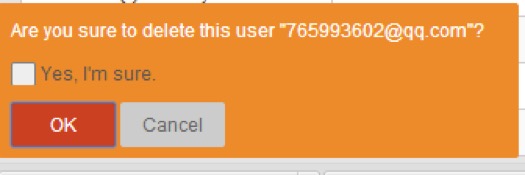
You can click  to delete users. Following indication box will pop up to remind you to confirm your operation. You need to click the information check box and click OK to finish deletion.