
Manage Campaign Page Overview
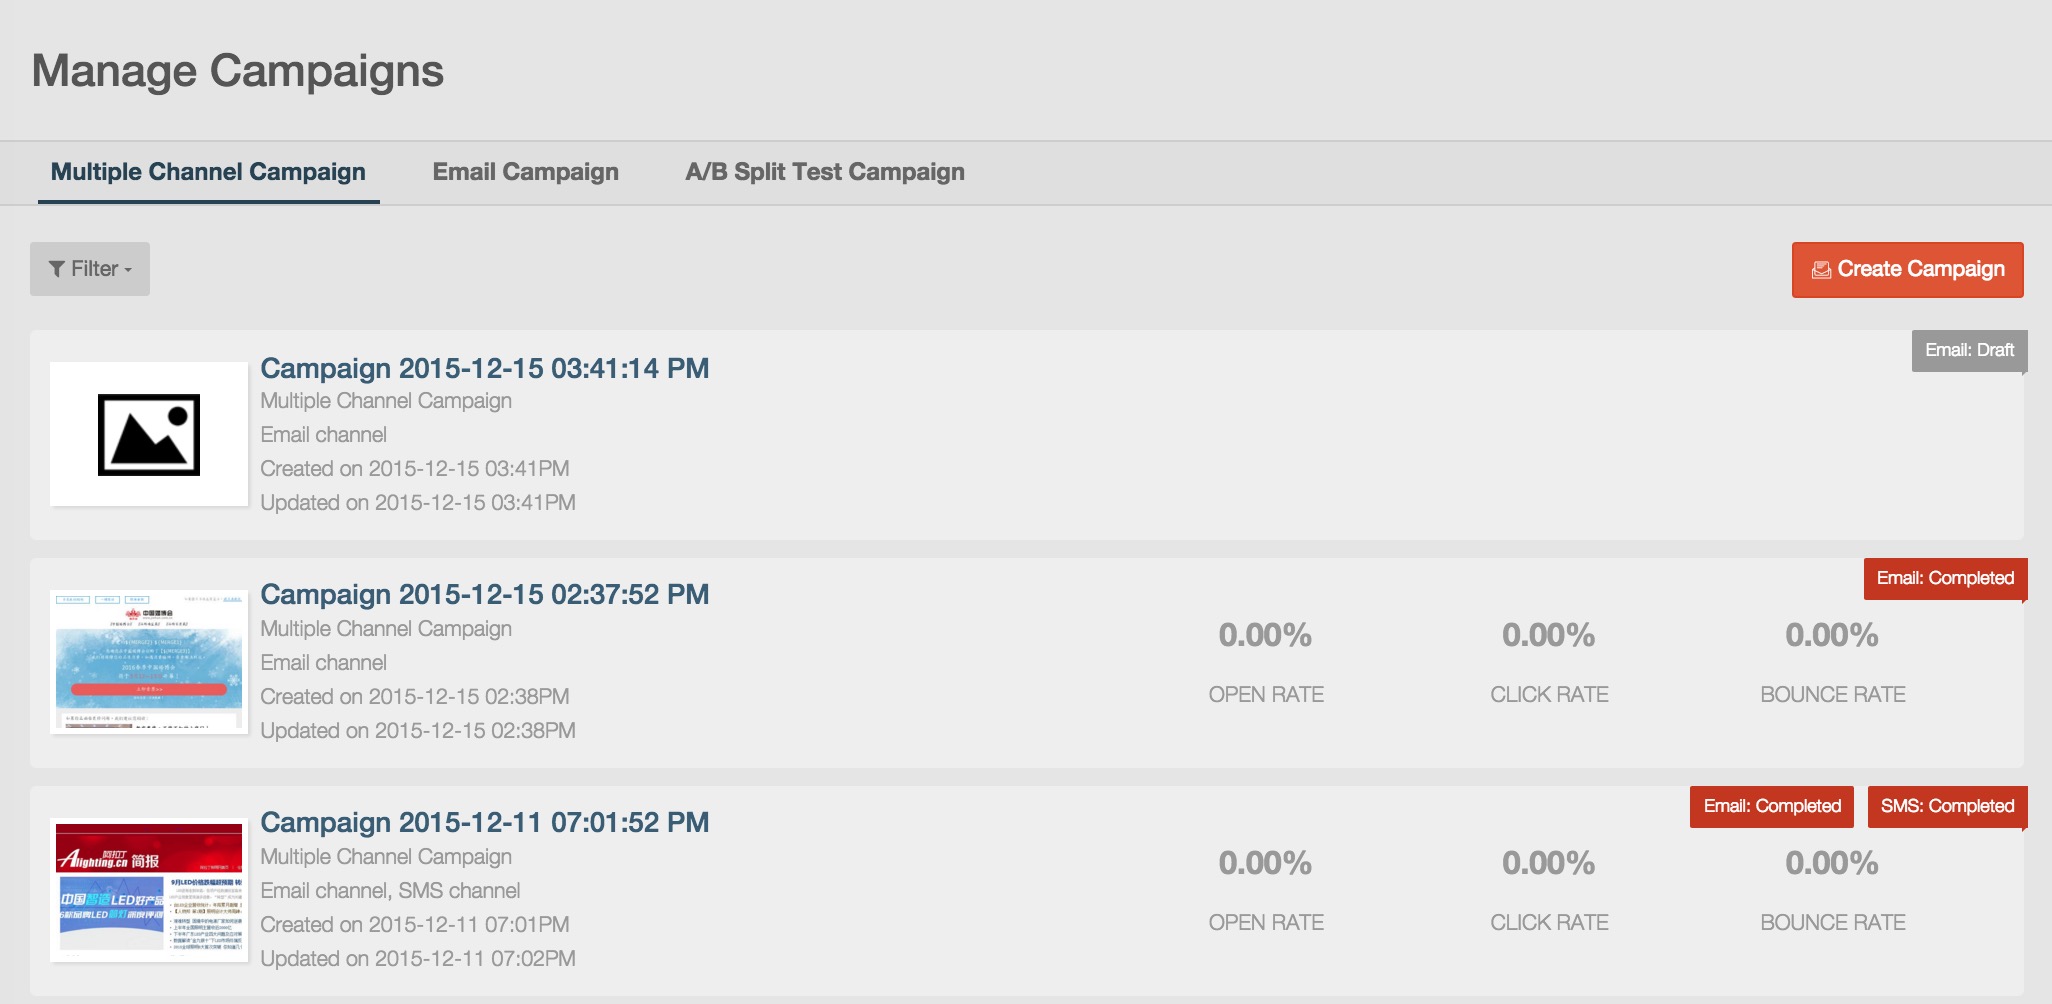
You can manage all campaigns in database. Click ‘Campaigns’ in database menu to enter campaign management page and view all created campaigns in database.
There are three campaign category tabs, Multiple Channel Campaign, Email Campaign, and A/B Split Test Campaign.
- You can click tab name to switch to corresponding campaign category page.
- Click the campaign name to view campaign confirmation page.
- Click the thumbnail image to preview the campaign.
Searching for Campaign
You can search the campaigns created in a specified period by setting filter conditions. About filter function, the filter data is limited by campaign category, users can only filter the data of current tab page. For example , if you are in multiple channel campaign category page, you can only set filter conditions to search for specified multiple channel campaign.
1. Click the filter icon at the left top corner of the campaign management page to set searching condition.
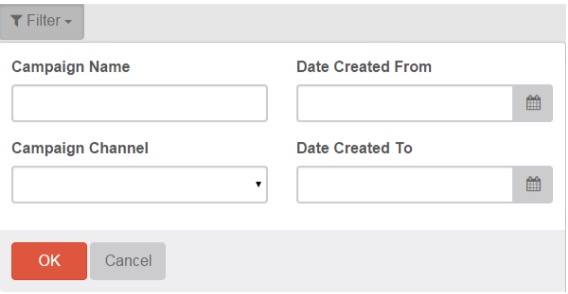
Comparing to filter conditions of multiple channel campaign, the filter conditions of email and A/B split test campaign will not have “Campaign Channel” option.
You can also use the quick search button to search the specified campaigns.
1. Click the quick search button  to open quick search bar.

2. Select the option ‘Campaign’ and input and the campaign name you want to find.
3. Click  or press Enter key to search campaigns.
Create Campaign
No matter you are in which campaign category tab page, you can click  in the top right corner to enter the new campaign page, and then choose to create multiple channel campaign or A/B split test campaign.
Manage campaign
All the campaigns listed in campaign management page are marked with their status. The status of campaigns has limited the operation availability. Users can make granted operations to manage campaigns according to campaign status.
You can move your mouse over a campaign and its operation menu will display.
- Edit: Click ‘Edit’ to edit campaign.
- Approve: Click ‘Approve’ to approve the campaign. The user who approves the campaign will receive a notification email to notice that the campaign is successfully approved and will be sent at specified schedule. For a campaign with specific time schedule, it must be approved before the specified time schedule, otherwise its campaign schedule must be modified for approval.
- Duplicate: Click ‘Duplicate’ to create a new campaign with the same settings and layout (except the campaign name and schedule) of an existing campaign.
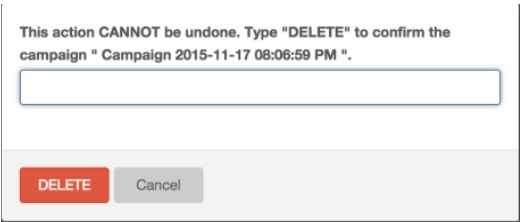
- Delete: Click ‘Delete’ to delete a campaign from database. You need to input text DELETE and click ‘DELETE’ to confirm your operation.
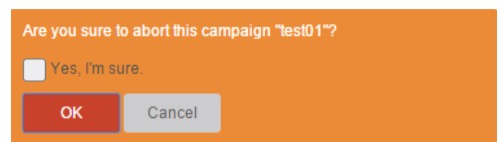
- Abort: Click ‘Abort’ to stop a campaign in executing, idle or approved status. The aborted campaign will be marked as ‘Interrupted’ status in campaign management page. You need to check the confirmation option and click OK to finish your operation.
 You can’t resume an aborted campaign. If you want to continue to send the campaign to recipients, you need to carry out following steps:
- Duplicate the aborted campaign as a new campaign and rename the campaign with a different name.
- Set the segment rules to exclude the customers who have received the campaign.
- Set the campaign schedule to send the campaign to the remaining recipients who have not received the campaign.
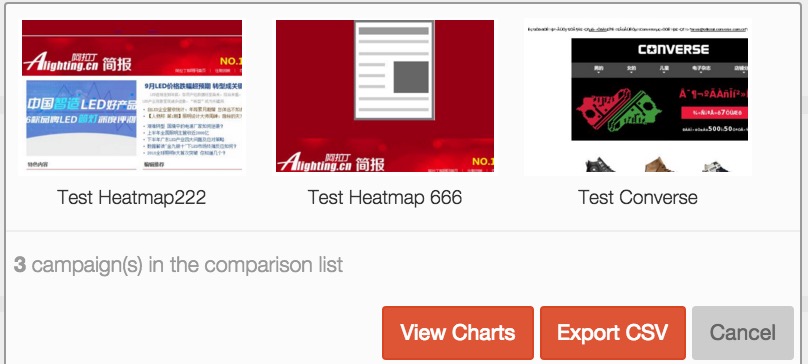
- Compare: You can use this function to select multiple campaigns and get their comparison report.
- Click ‘Compare’ to select campaigns you want to compare.
- If you want to remove a campaign from compare list, move your mouse on the campaign and click to remove it.
- Click ‘View Charts’ to view campaign comparison report charts.
- Click ‘Export CSV’ to export CSV file of comparison report.
- Click ‘Cancel’ to quit the comparison.
Export CSV file of comparison report
You can click ‘Export CSV’ file to export CSV file of comparison report. RiMANGGIS will send a notification email with a download link after the exportation is finished, you can click the link to download CSV file.
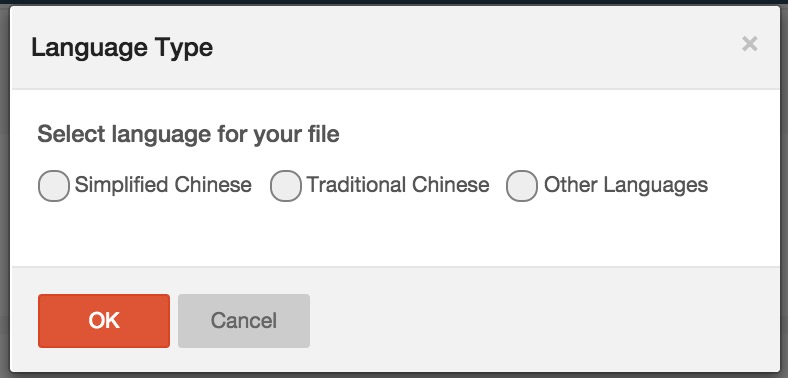
You need to select the language type for your export CSV file.
View comparison report
Click ‘View Charts’ to enter campaign comparison page. Comparison reports include open & click chart and bounce & spam chart.
The statistical data of compared campaigns is illustrated with color bars respectively in the form of up and down contrast chart. You can click the data color bar’s name at the bottom of charts to hide the corresponding data from the data, the hidden data will in light grey status and cannot be visible in the chart.
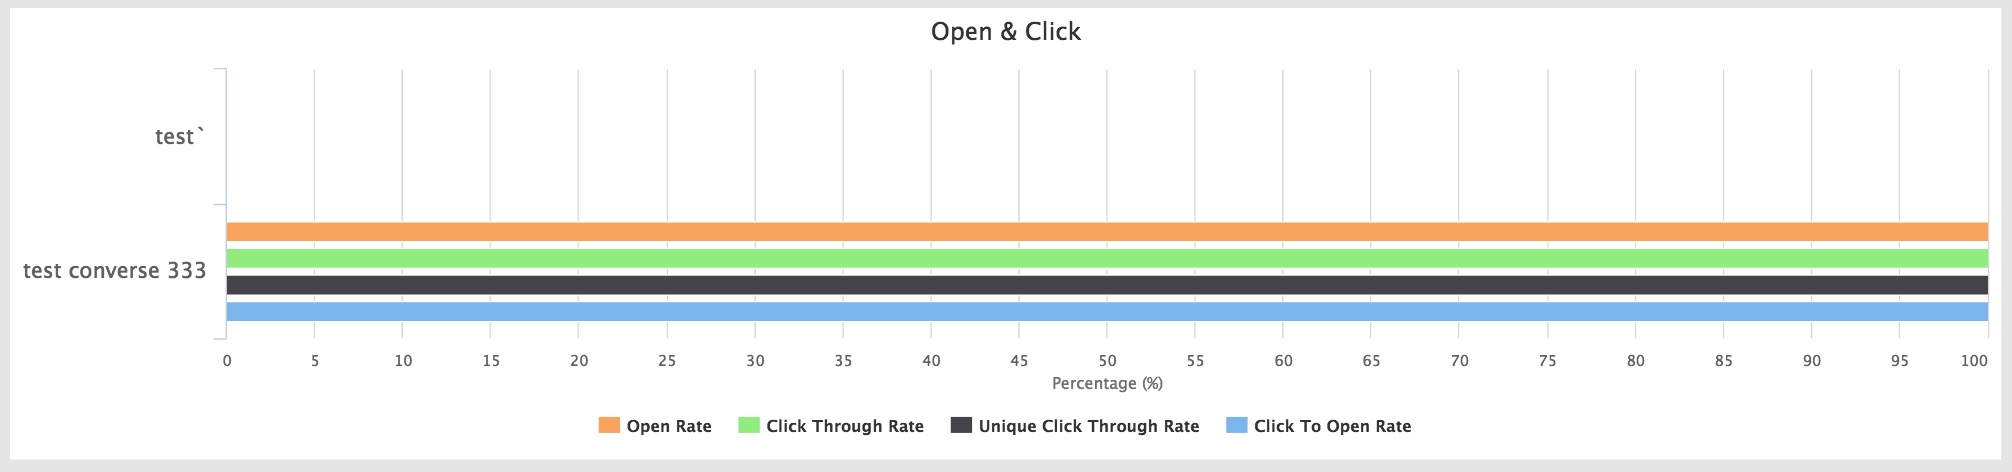
The open & click chart displays following statistical data:
1. Open rate in red bar.
2. Click through rate in green bar.
3. Unique click through rate in black bar.
4. Click to open rate in blue bar.

The bounce & spam chart displays following statistical data:
1. Bounce rate in green bar.
2. Spam rate in black bar.
3. Unsubscribe rate in blue bar.
You can move your mouse onto the bar in charts to view data details or view the data in the table below charts.
View report
You can view campaign reports of campaigns in executing, idle or completed status.