
After you finish the setup step page setting, click  at the bottom of the setup page, or click
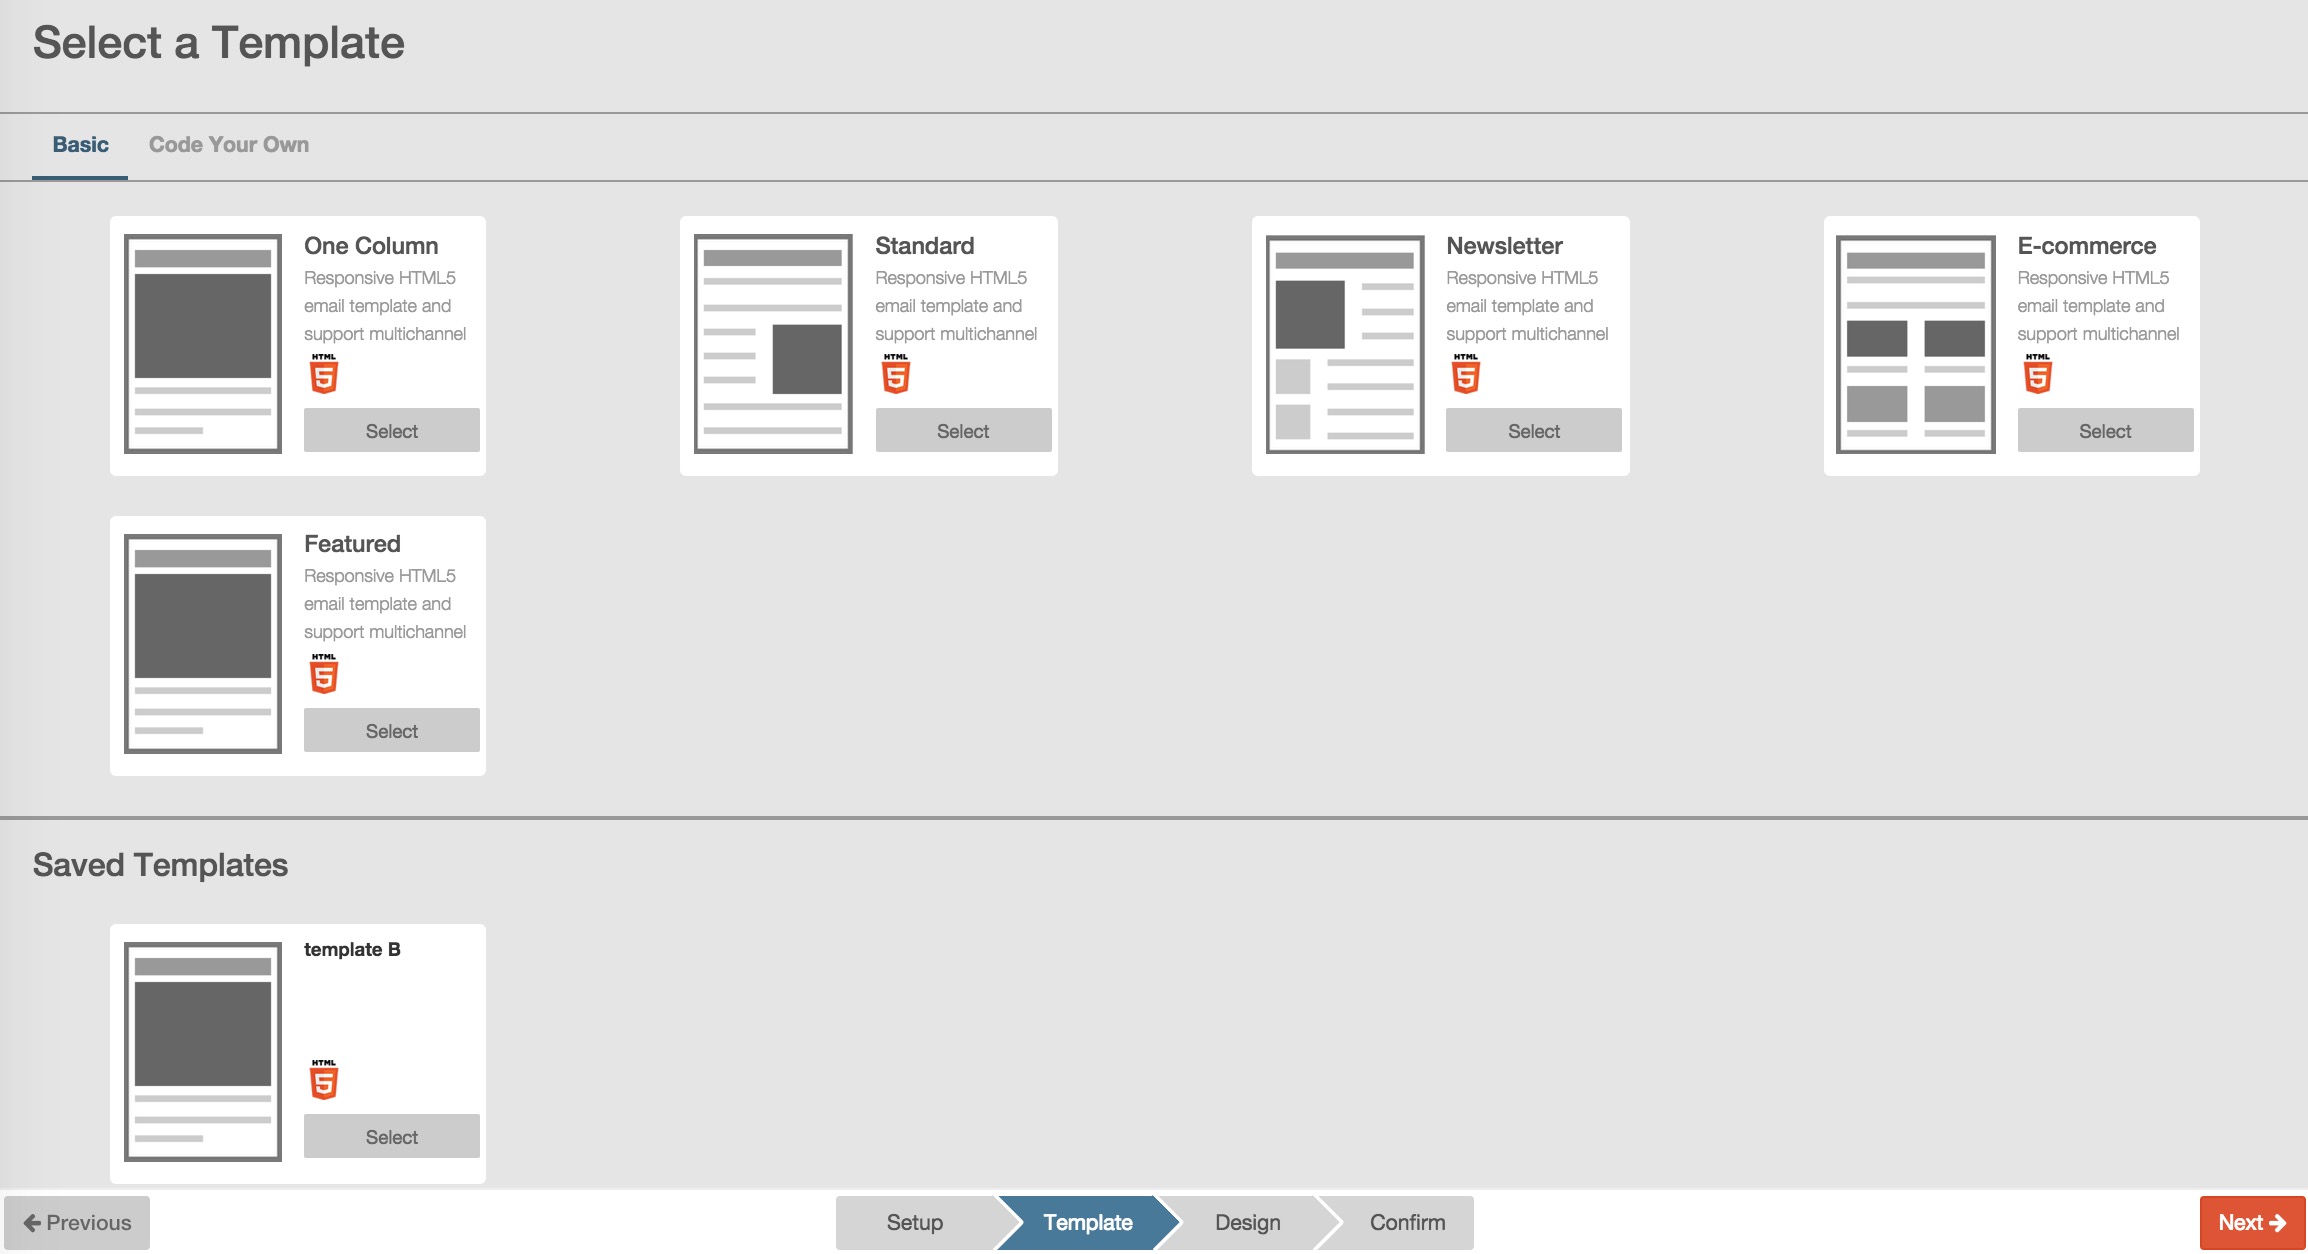
 at the lower right corner of the page to enter template step page as below. There are two option tabs: “Basic” and “Design Your Own”.
- The default display page is “Basic” tab page, in this page, RiMANGGIS integrates five basic campaign templates for users to choose. If you choose a template to design your campaign, you will enter newly editor with drag and drop function. If you have designed and saved a template, you can also view your saved template in basic tab page.
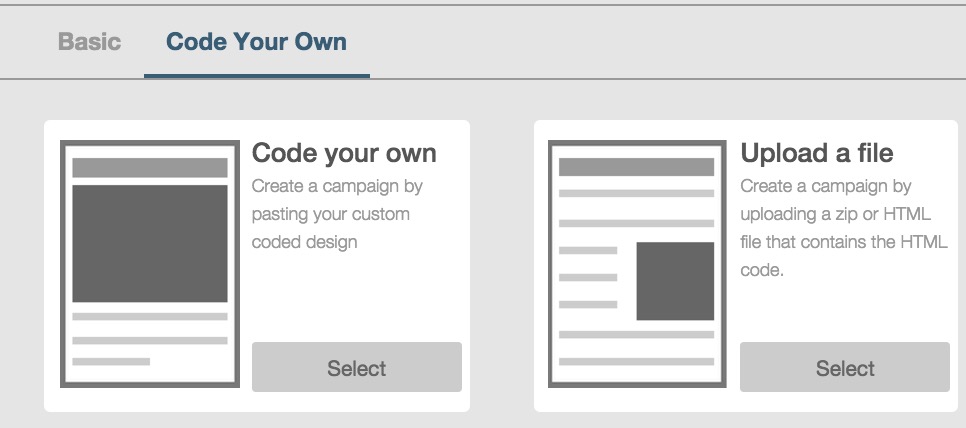
- The “Design Your Own” tag pages integrates the original html page designing and zip file uploading function. In this tab page, you can select “Code Your Own” function to directly enter html design step page with original editor, or select “Upload a file” function to upload your HTML zip file.
The drag and drop editor is enabled/disabled in RiMANGGIS admin system. Users can only view basic templates on the condition that their drag and drop editor function is enabled in RiMANGGIS admin system.
Basic tab
RiMANGGIS provides five basic responsive html5 templates edited with new drag and drop editor: One column, Standard, Newsletter, E-commerce, and Featured. Besides, users can also view all saved templates edited with drag and drop editor.
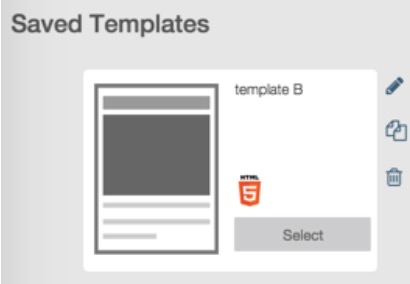
For saved template, you can move your mouse over the template and select edit button to make related operations.
- Click
 to edit template name,in the popped up template name input text box, you need to input a template name. This field supports any kind of characters with maximum 80 characters limitation.
- Click
 to duplicate current template as a new template, you need to input a name for your new template.
- Click
 to delete current template.
- Click “Select” to select current template to enter design step page with drag anddrop editor, and then you will view the following new editor loading page.
You can move your mouse over a template and click “Select” to select a template, and then you will view the following new editor loading page.
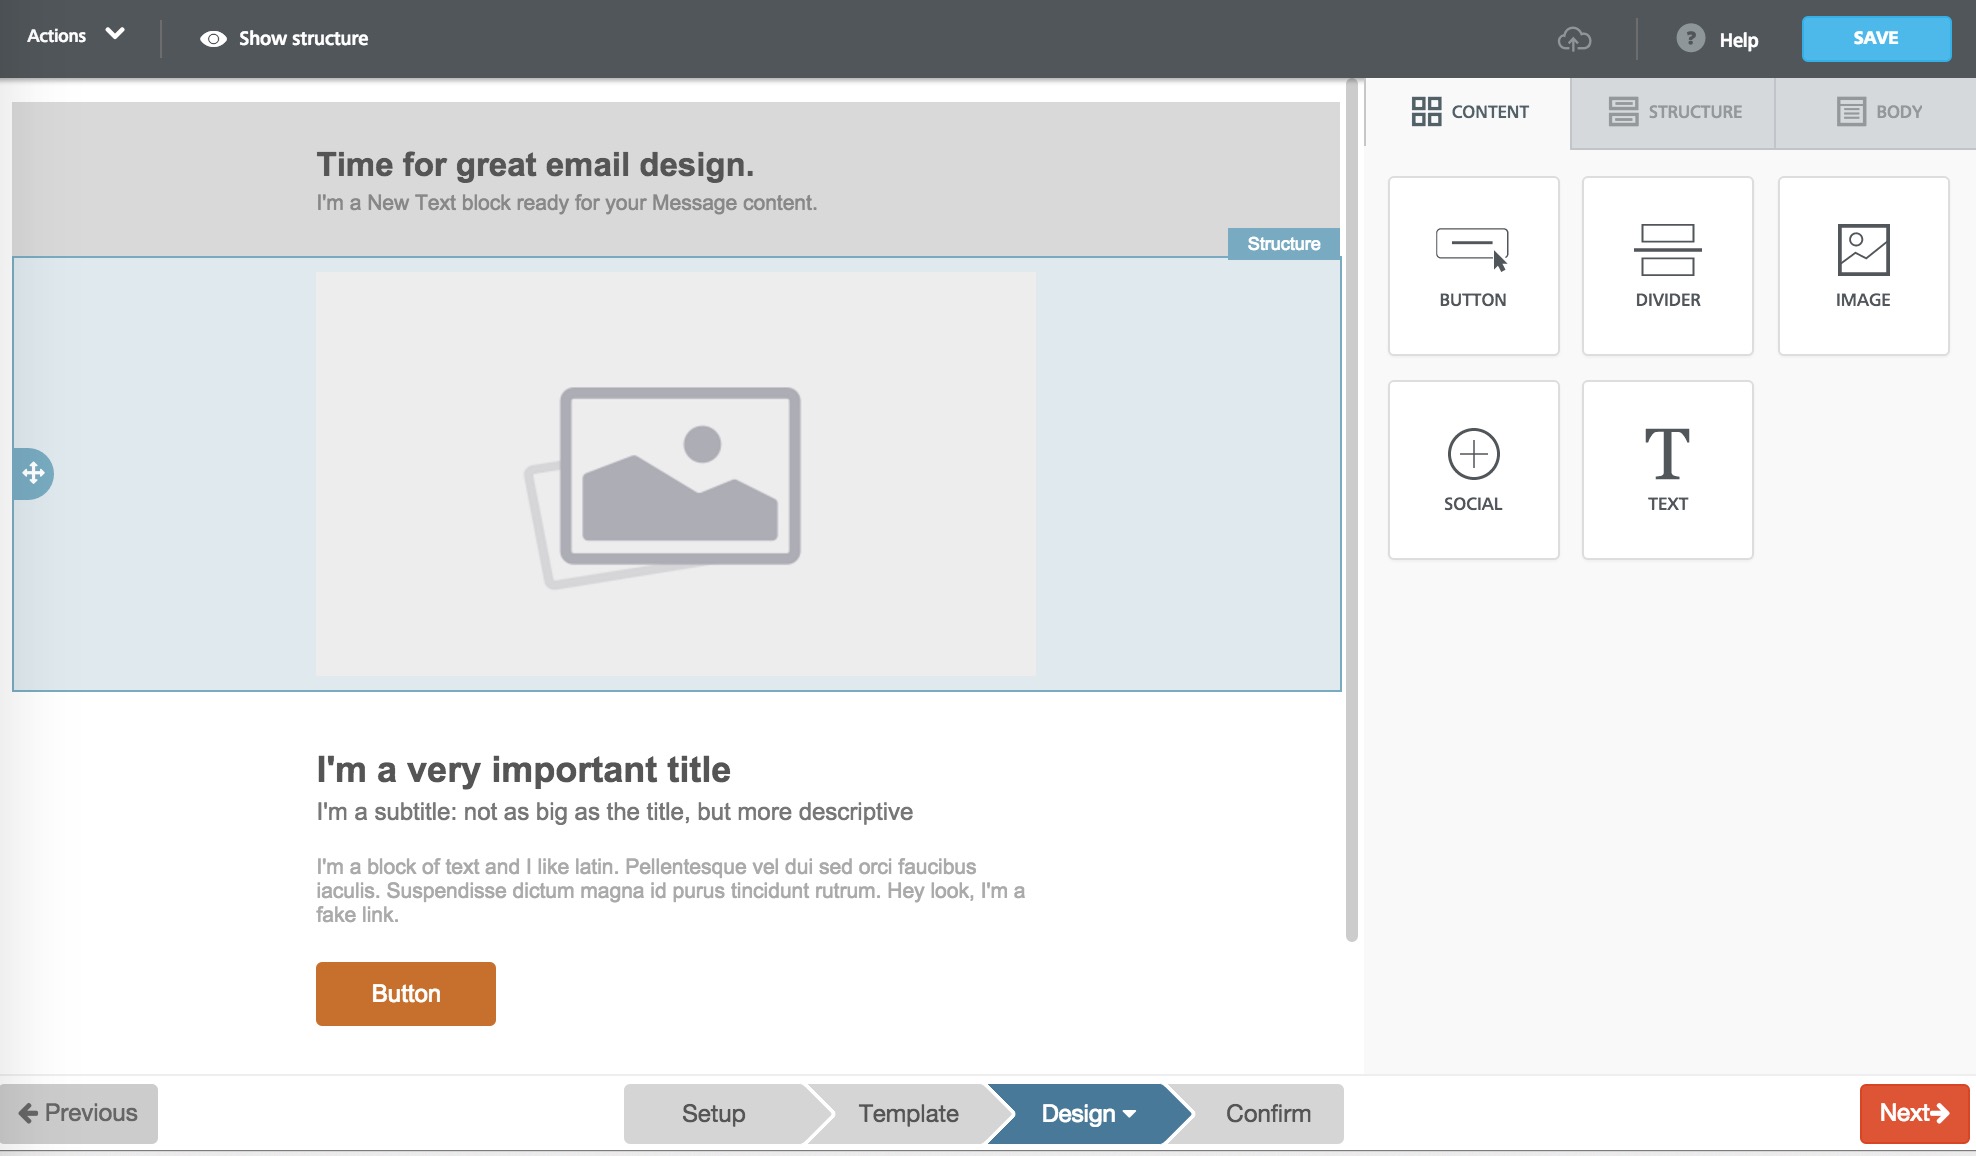
After the editor is successfully loaded, you will enter the html step design page with the new editor.
Our newly integrated editor is very flexible and support drag and drop function. For detailed operation guide information, please refer to Appendix B Drag and drop editor (for basic template function).
Preview html page
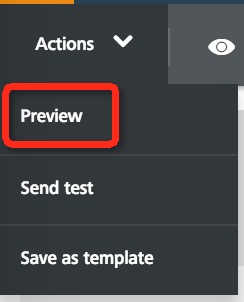
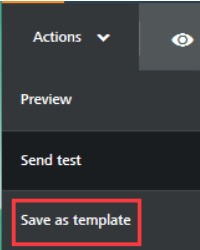
After you finish html page design, you can click the “Action” menu in the left top corner of design page and click “Preview” to preview your html page.
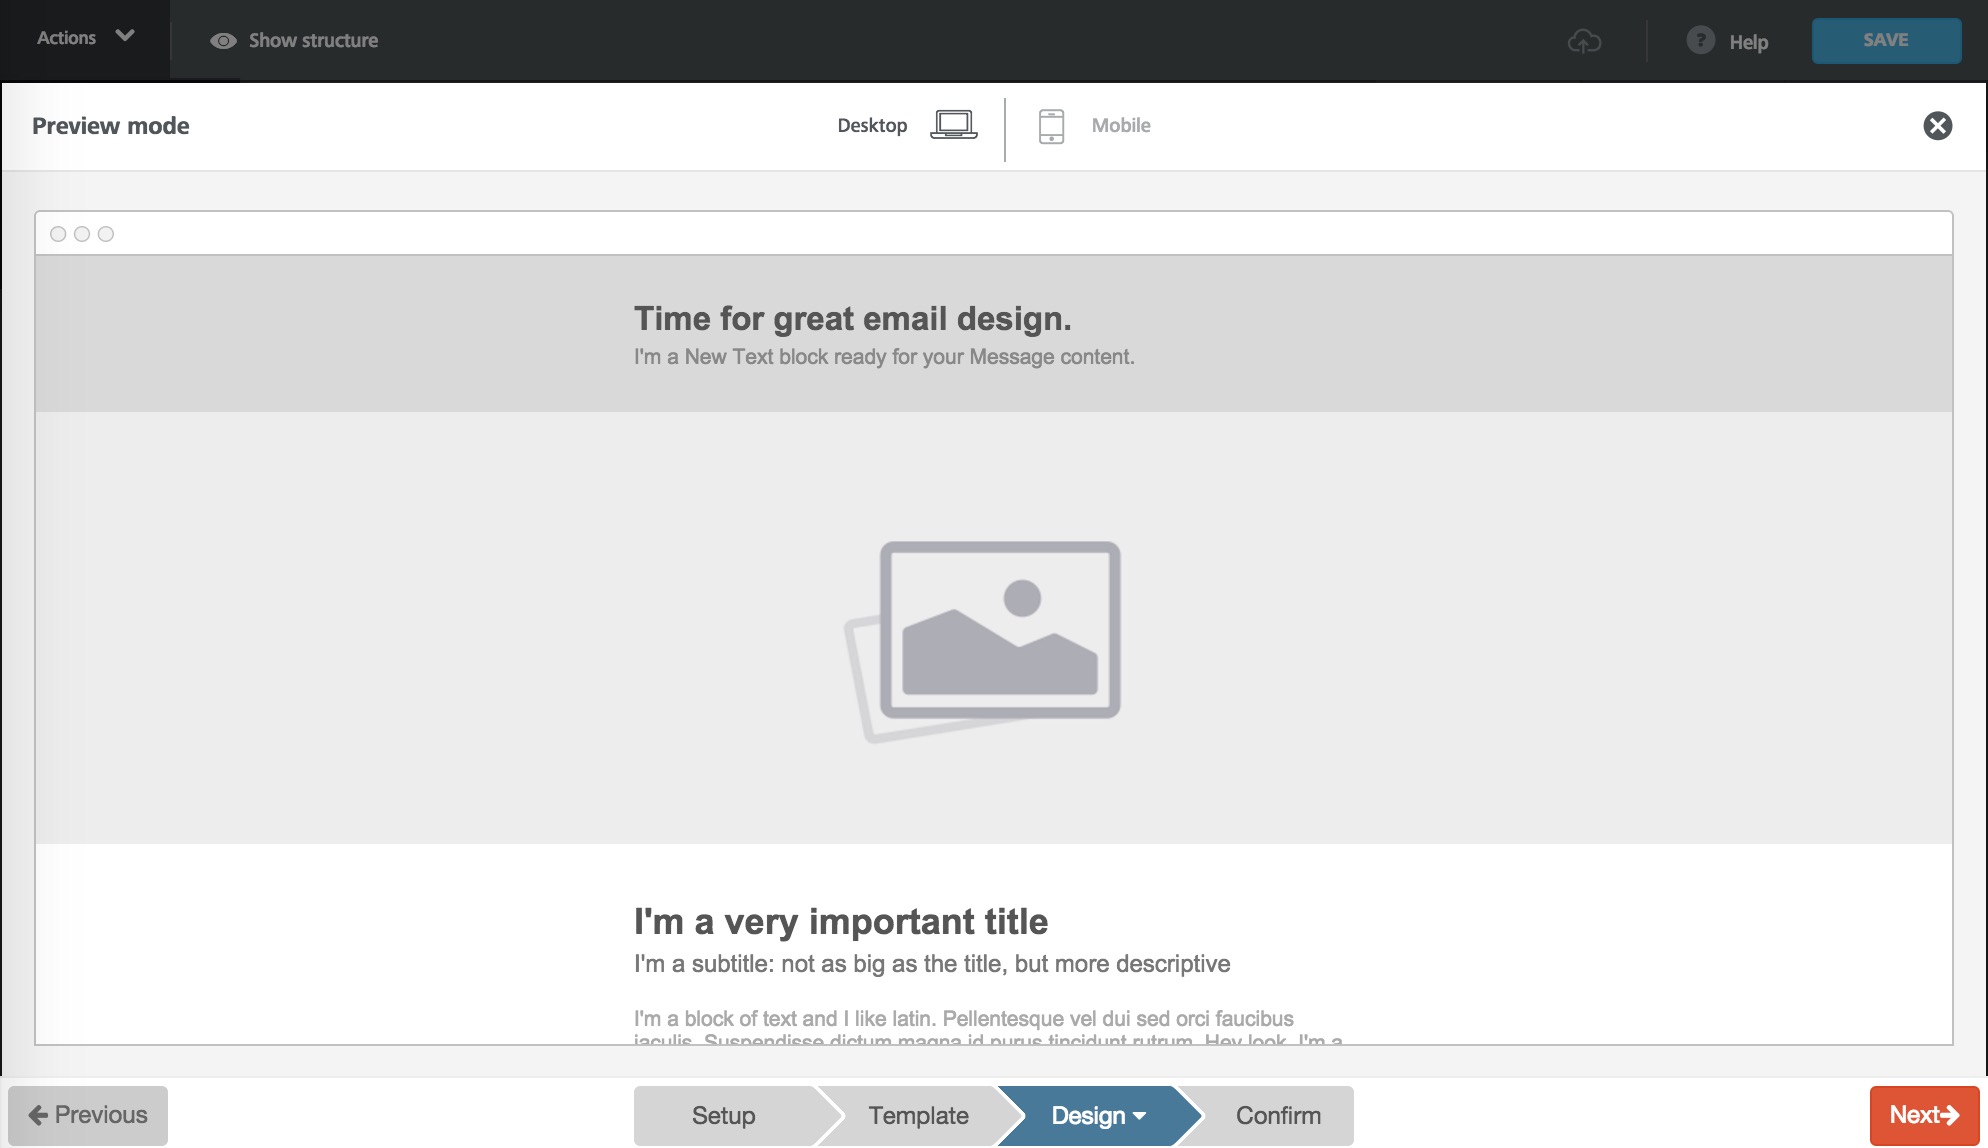
In the preview page, you can switch preview mode as desktop or mobile mode. If you want to quite the preview page, you can click to close the preview page.
Send sample emails
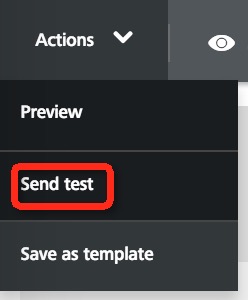
After you finish html page design, you can click the “Action” menu in the left top corner of design page and click “Send test” send sample test emails.
For details about send test operation, you can refer to Send sample emails of the html design page with CK editor.
Send sample emails
After you finish html page design, you can click the “Action” menu in the left top corner of design page and click “Send test” send sample test emails.
Design Your Own
In Your Own tab, you can choose to directly design your campaign or upload a campaign file.
If you use this function for the first time, you will view the following indication message box to recommend you to use basic template function.
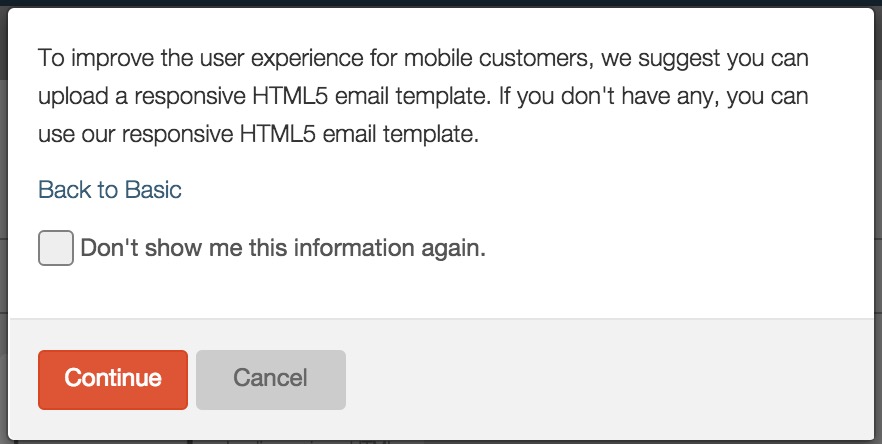
- Click “Back to Basic” to go to basic template page.
- Click “Don’t show me this information again” to close the message display and you will view this message box next time.
- Click “Continue” to go to next step page.
Code your own
If you select “Code Your Own” function, you will directly go to campaign coding page as below, you can directly design campaign by coding or paste your campaign source code.
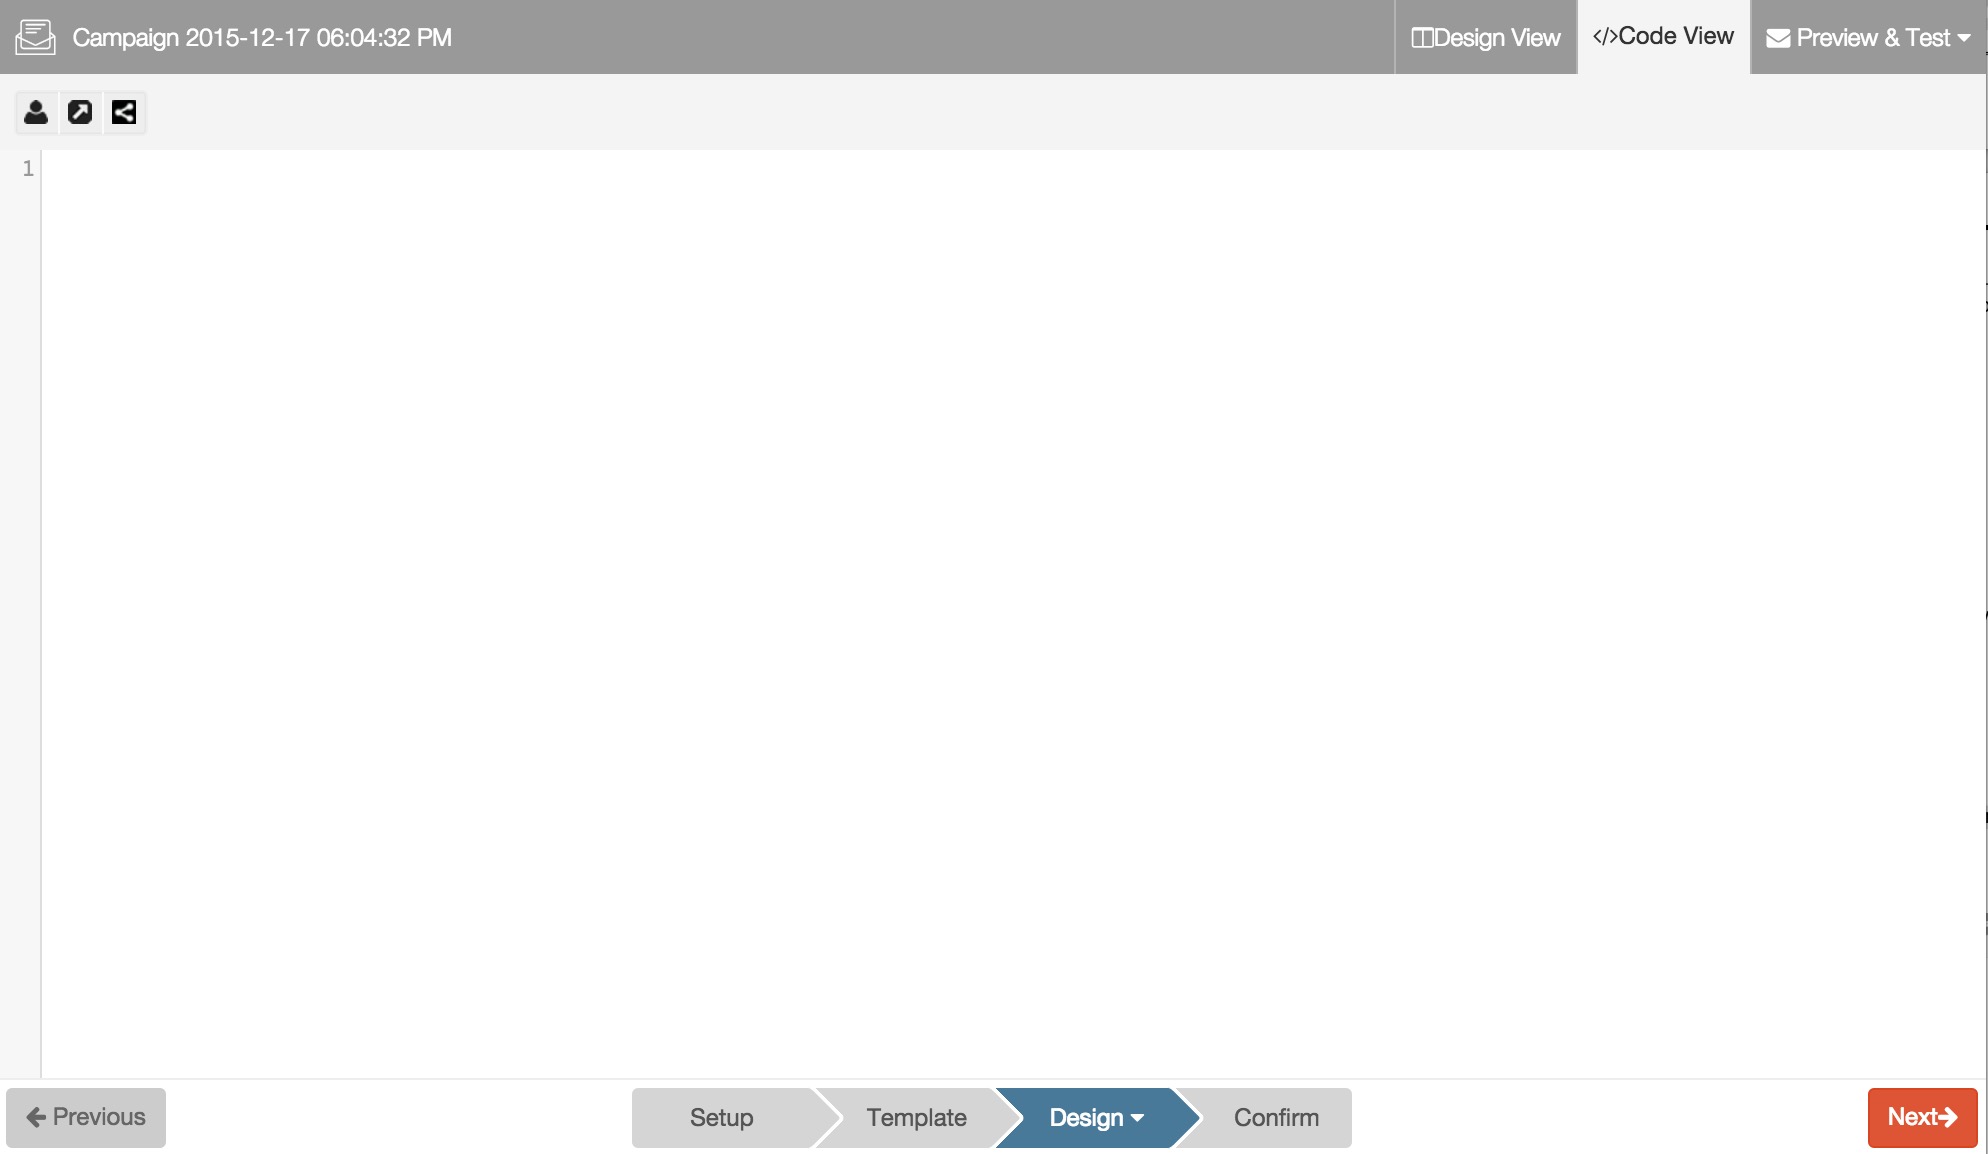
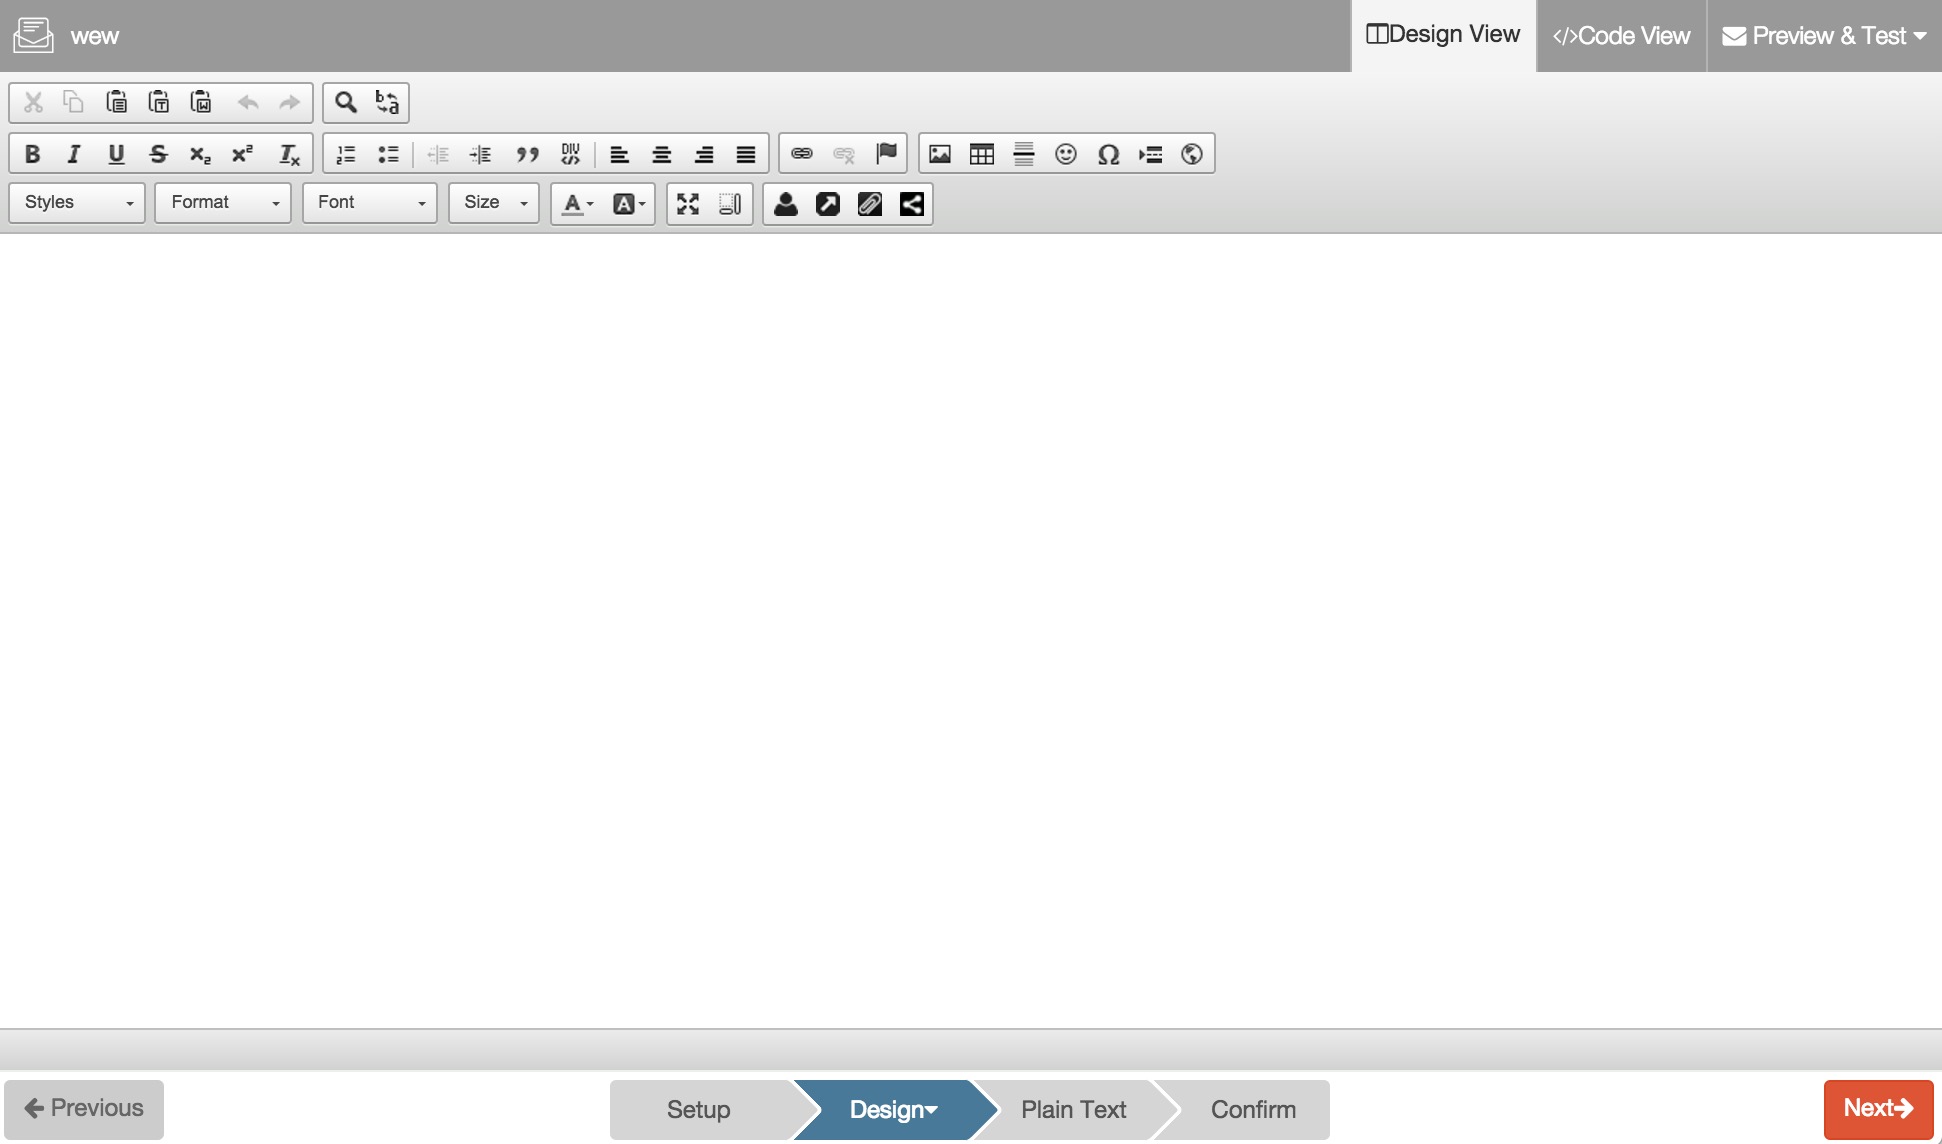
You can also click “Design View” at the upper right corner of the page, to use the CK editor to edit your own campaign page. Please refer to Edit button description in appendix for more details.
Upload a file
In “Code Your Own” design page, you can also select “Import a file ” function to upload a zip or HTML file.
After you click the button “Select” of “Import a file function”, you will directly view the following file uploading window, you can click to select a local file to upload it to system.
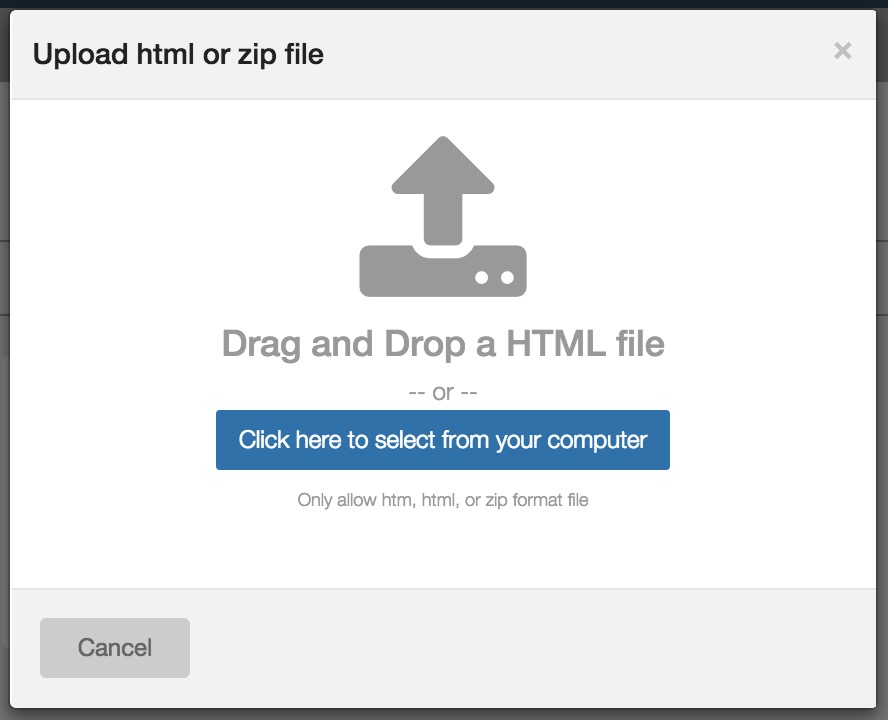
- You can directly drag and drop local html file or zip file containing the html file and all linked resources into the upload area.
- You can click the upload area to upload your file.
- If you upload a ZIP file, the name of the html file in ZIP file must be‘Index’.
- Name the uploading ZIP file in English.
- After uploading the ZIP file, directly enter campaign design page with CK editor.
You can refer to Preview &Test(CK editor) to preview html page or send sample emails with CK editor.
Define and validate hyperlink in campaign
You can check the effectiveness of hyperlinks in design page, and you can also edit the information of hyperlink.
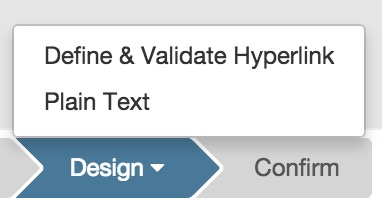
Move your mouse onto ‘Design’ at the bottom of design page and click ‘Define & Validate Hyperlink’ to enter hyperlink check page.
 For detailed operation, you can refer to Define&Validate Hyper Link function of Email campaign.
Plain text
The campaign content in plain text make sure that your subscribers can view the campaign content as expected regardless of the email client or program they’re using. When subscribers receive your campaign, their email clients will automatically determine which format (html or plain text) to display. The plaintext content is auto‐ converted from the HTML content of design page.
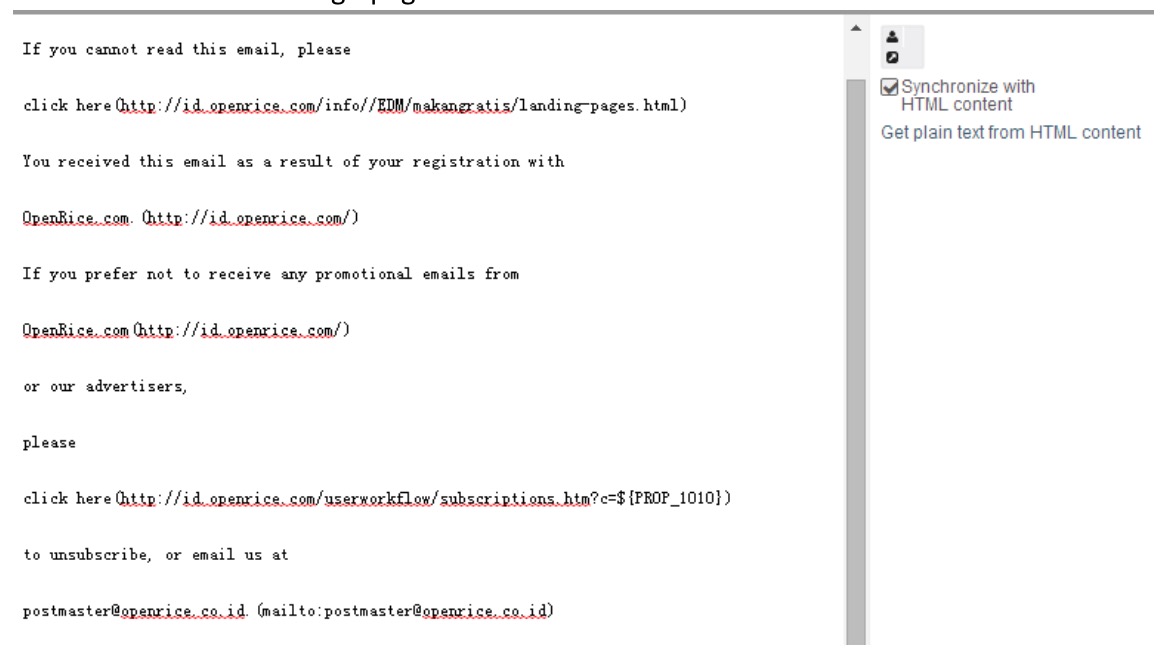
For detailed operation, you can refer to the plain text of Email campaign.