
About Tags
Tags are used to identify customer groups; users can add tags for customer records
and define tags’ name. It is better to define customer oriented name for tags. For example, customers in a list to be imported are all interested in Product A, users can create a tag named ‘Product A’ and add this tag for these customer records to identify them.
Tags are added to customers in two circumstances as below:
- Add tags for customer records: while importing customer records, users must add tags for customer records. The imported customer records will be classified into customer groups according to tags. For operation details, please refer to 4.2. Import customer.
- Add tags for campaigns: users can add tags in the setup step of creating new campaigns, or add tags for links in campaigns. Customers who open campaigns or click links with tags will be automatically added and classified into the customer group of tags. For operation details, please refer to Create regular campaign.The size of tags’ circle indicates the scale of customer records which tags include. The more customer records a tag includes, the larger the circle will be.
Tag Operation Privileges
Users can manage tags according to their assigned operation rights:
- Users with database access rights can create, edit and delete tags.
- Users with import customer rights can import customer records for tags.
- Users with access customer rights can view tags and customer records.
- Users with export customer rights can select tags and export related customer records file in CSV format.
- Users with delete customer rights can delete tags and their included customer records.
Tag operation menu
You can manage all tags in database.
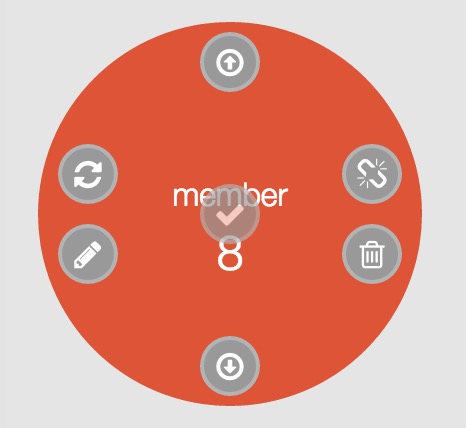
1. Move your mouse onto the tag you want to edit and select operation icons.
- Click
 to edit your tag name.
- Click
 to directly into a tag.
- Click
 to select a tag and export its customer records.
- Click
 to view customer records in a tag.
- Click
 to delete a tag merely.
- Click
 to delete a tag and its customer records.
Tag operation description
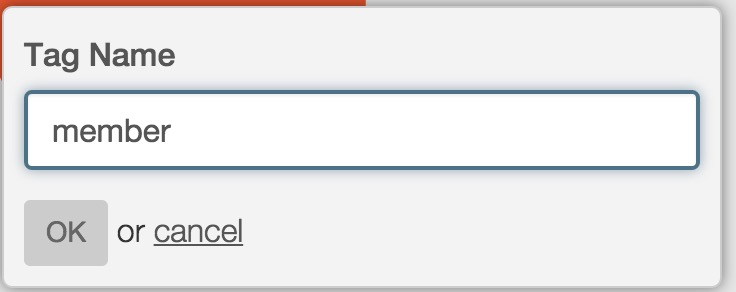
1. Edit tags: input a tag name and click OK to save your new tag name.
 2. Import customers: Click
 to import customer records into a tag.
3. Export customer files:
- Click to select a tag. The information bar showing the selected tag’s name will display at the bottom of page.

- Click the button ‘Export CSV’ to export customer records in selected tags.
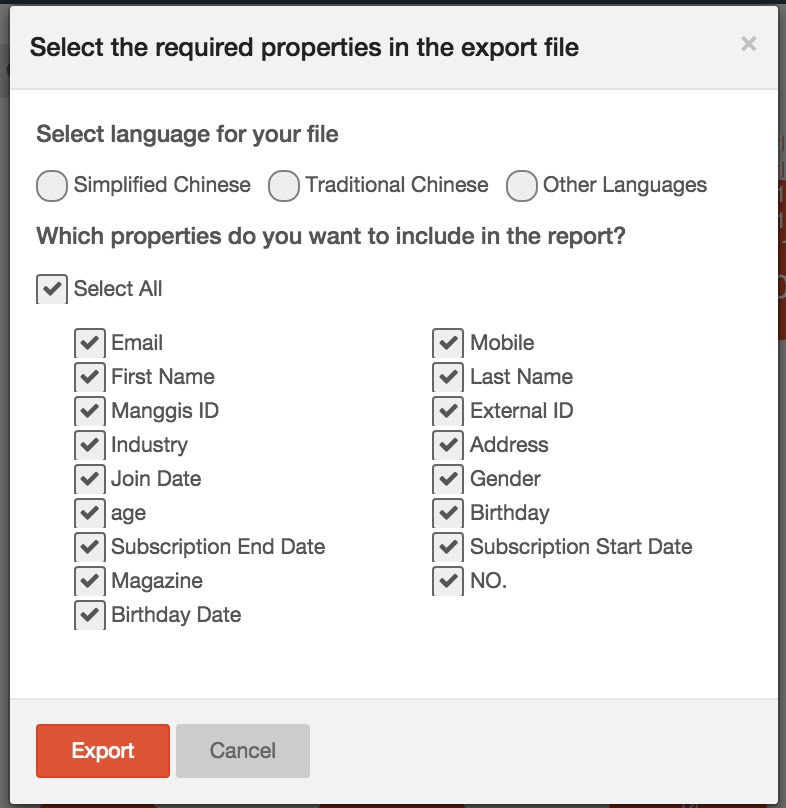
- In the pop up window of exporting file option, you need to select your exported file language and properties columns in the file.
– Language: RiMANGGIS supports multiple‐language function for exported CSV files. You need to select a language for your exported file.
– Property option: You can select the properties which you want to view in the exported file.
RiMANGGIS will send a notification email with a download link to your mail box, you can click the link to download customer CSV file.
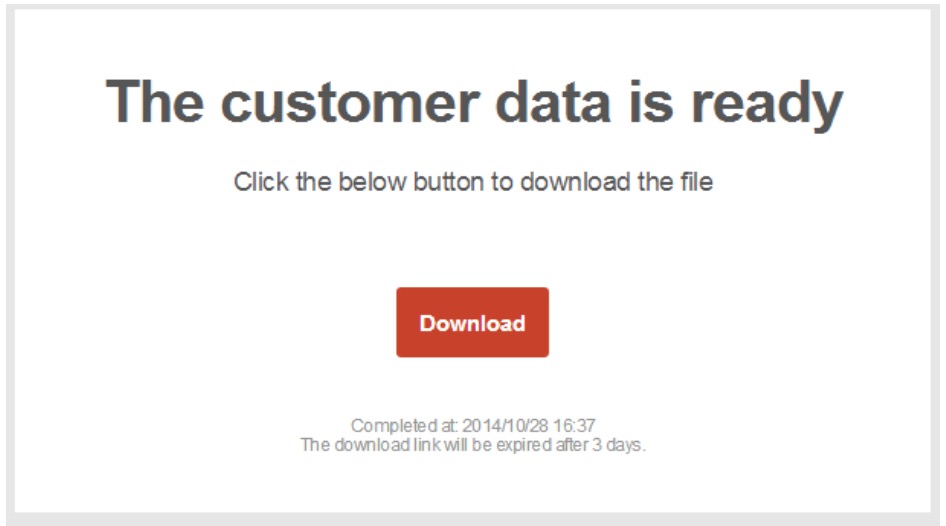
The download link in email will exprire after 72 hours. You must download the exported file in three days after you receive the notification email.
If you are failed to use the link in email to download the exported file, you can open the message box button and find your export record to download your CSV file.
4. Delete tag: Click and confirm deletion message box to delete tags from data base.
5. Delete tag and customers: click and confirm deletion message box to delete the tag and its included customer records.
6. View customer records in a tag: Click to view all customer records included in a tag. You can manage customer records in a tag.
The tag name will display at the top left corner of this page, you can click the edit icon to edit your tag name.
The number at the top right corner indicates the total number of customer records included in the tag.
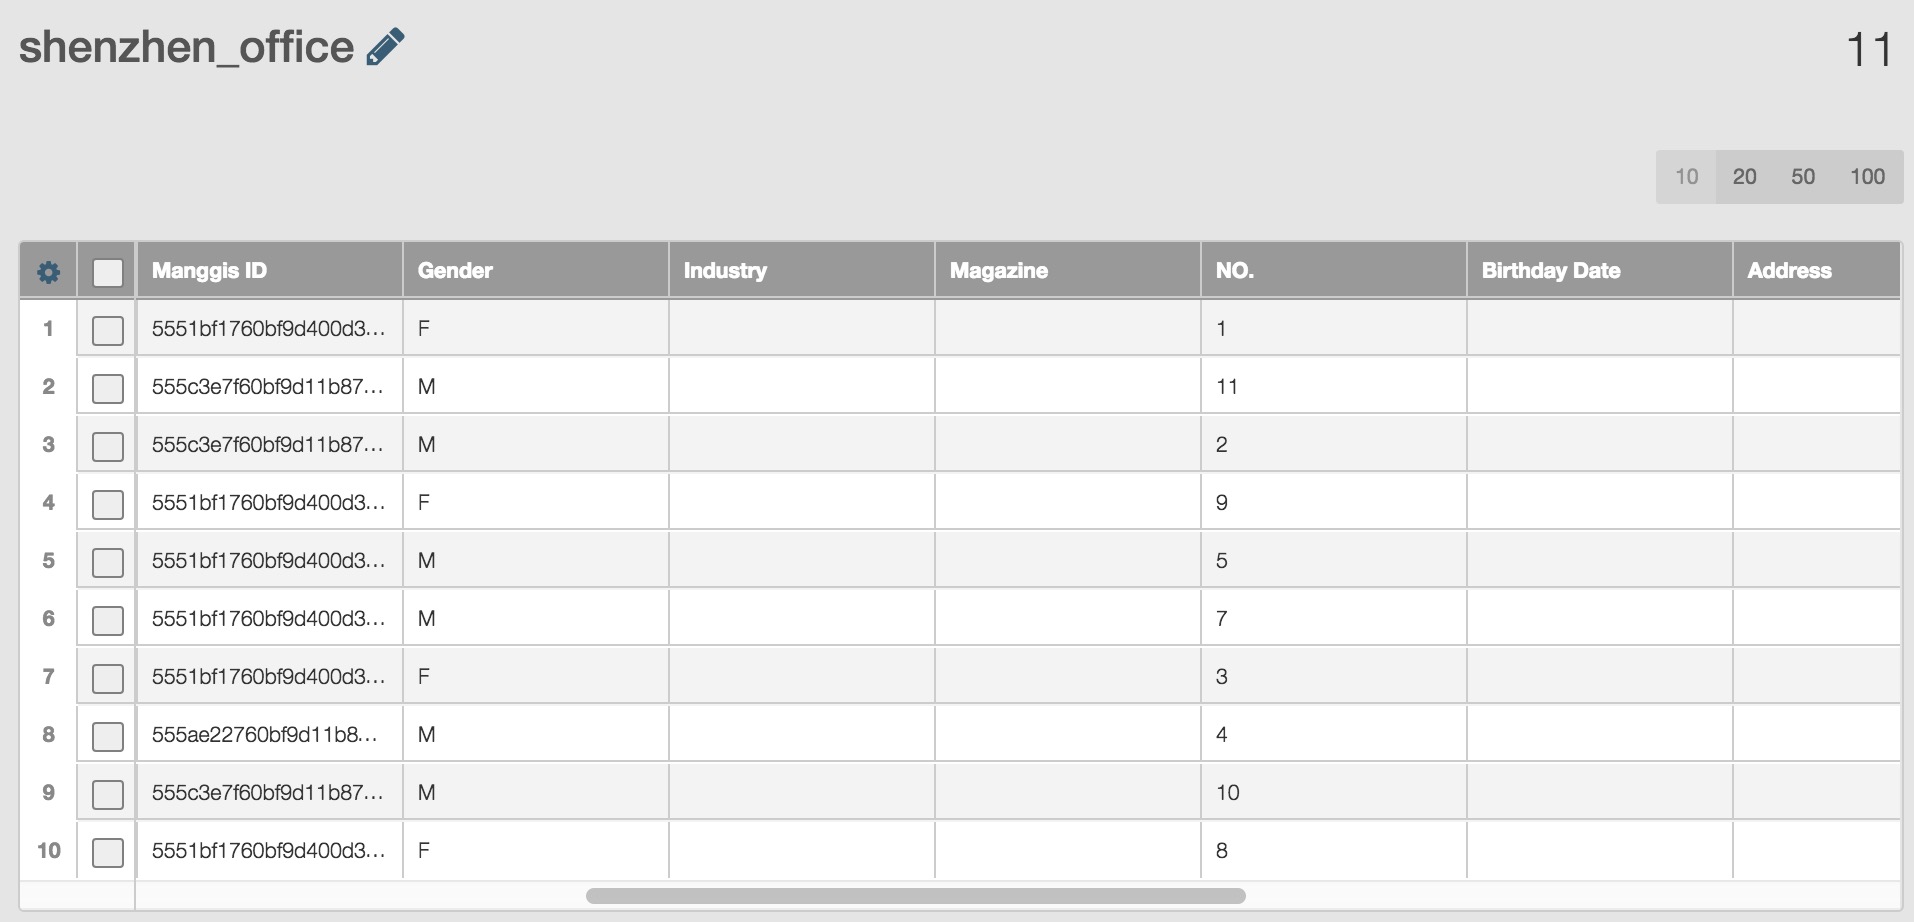
- Click the check box in the first column of records table to select all records in cur‐ rent page or individual customers.
- Click
 to remove selected customer records from this tag.
- Click
 to delete selected customer records from database.
- Move your mouse over a table cell and click
 to edit properties’ field content.
- Click the display setting button
 to set the display parameter of property columns.
- Click the display setting button
 to set the displayed rows in a page.