
 at the right bottom corner to enter campaign step page.

Campaign step page is used to add campaigns into an auotomation flow and set each campaign trigger condition and schedule.
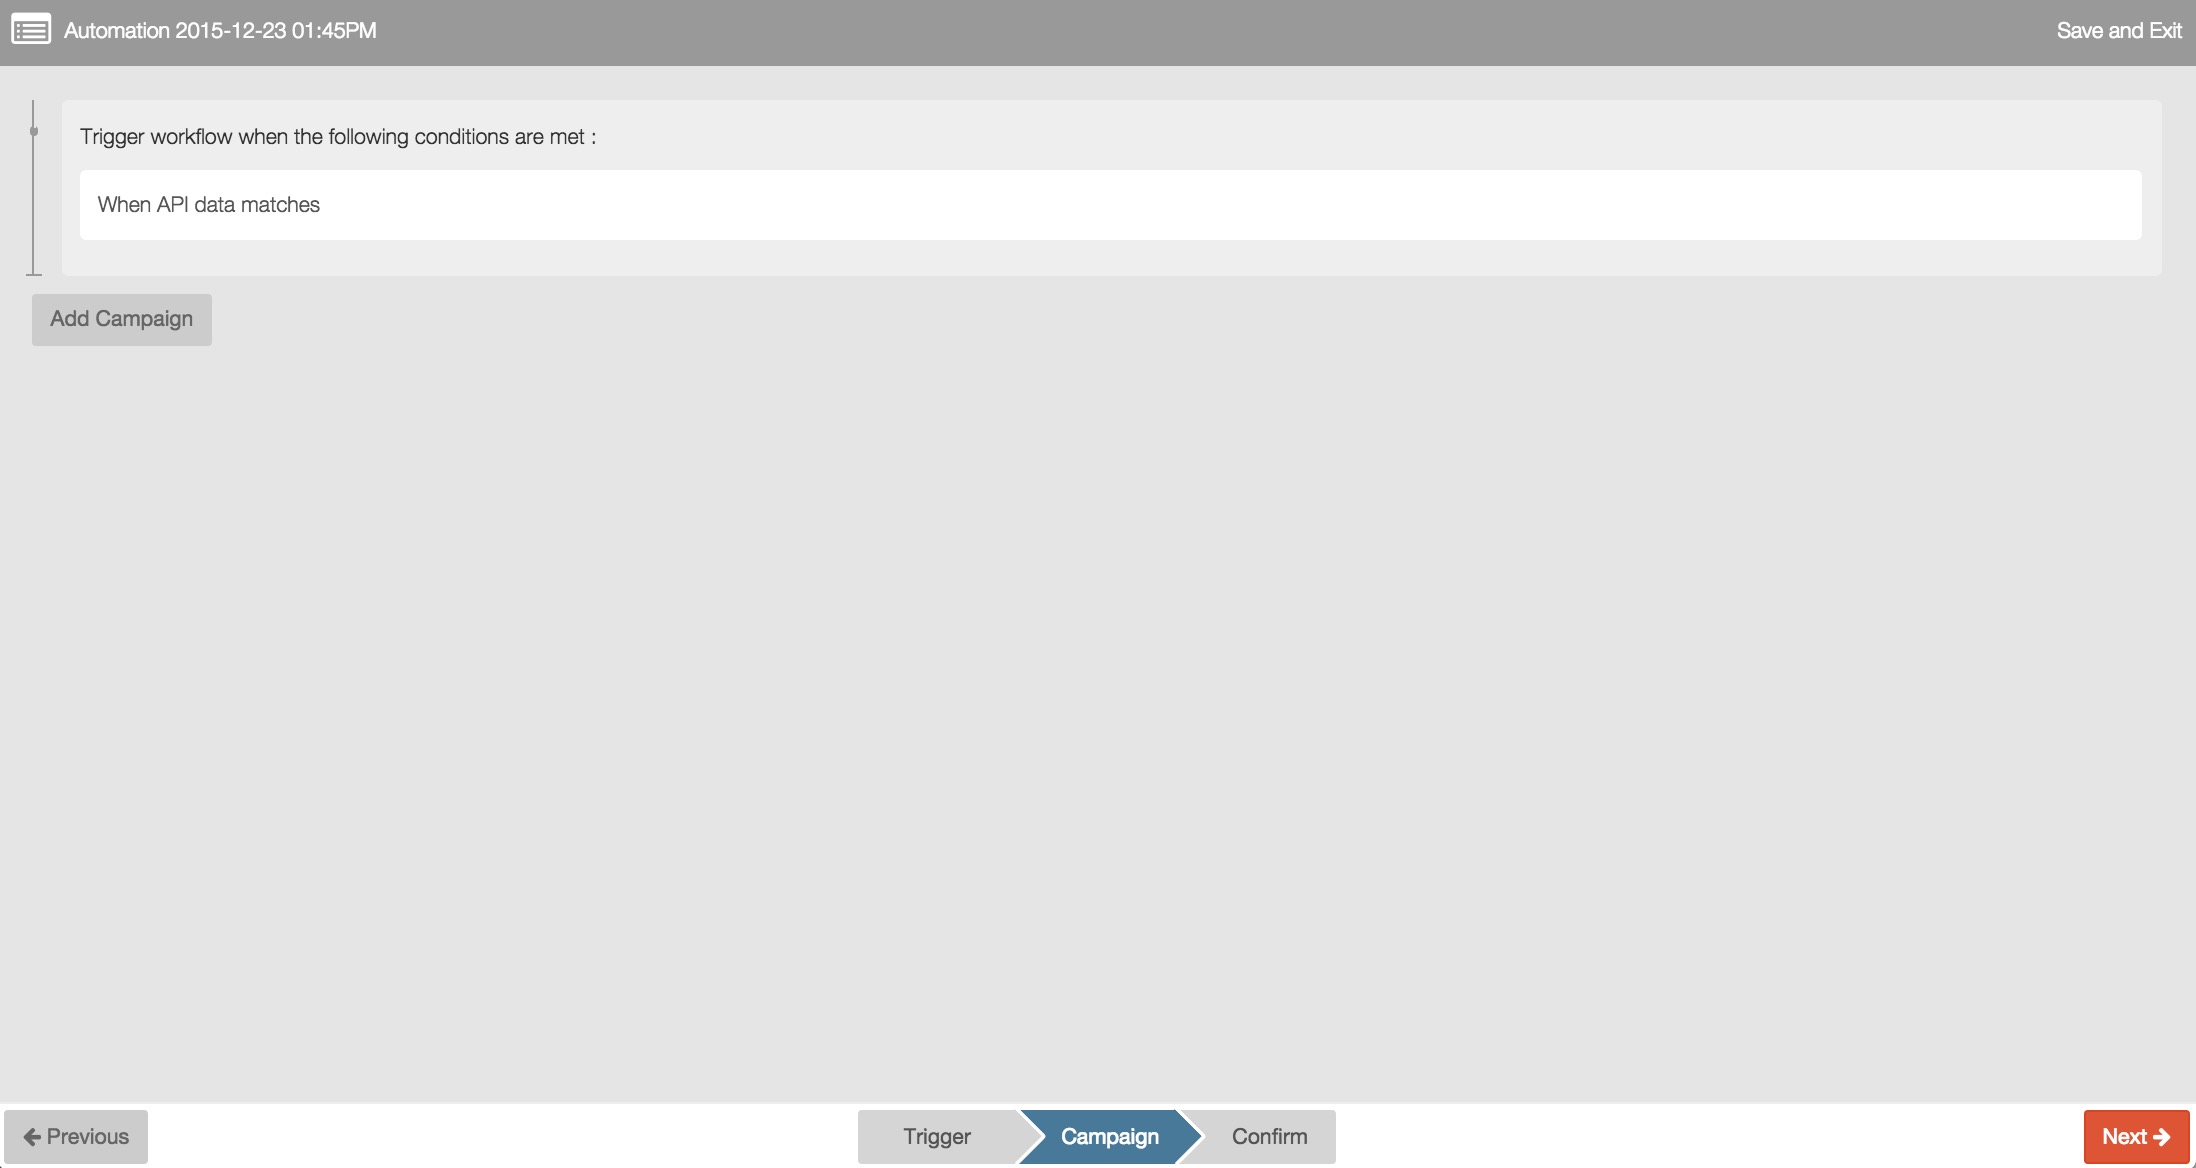
Your configured trigger condition in trigger step will display at the top area in campaign step page. If you want to view or edit detailed trigger setting information, you can click  to return to trigger step page.
Add campaign into automation
You need to click  to add an empty campaign template into the automation.
Edit campaign information
The newly added campaign is only an empty campaign template without any content, you need to enter campaign setting steps page to edit the campaign content.
Move your mouse over the campaign to be edited and click  to enter campaign setting steps page.

You need to finish your campaign information setting by three steps: setup, design and plain text.
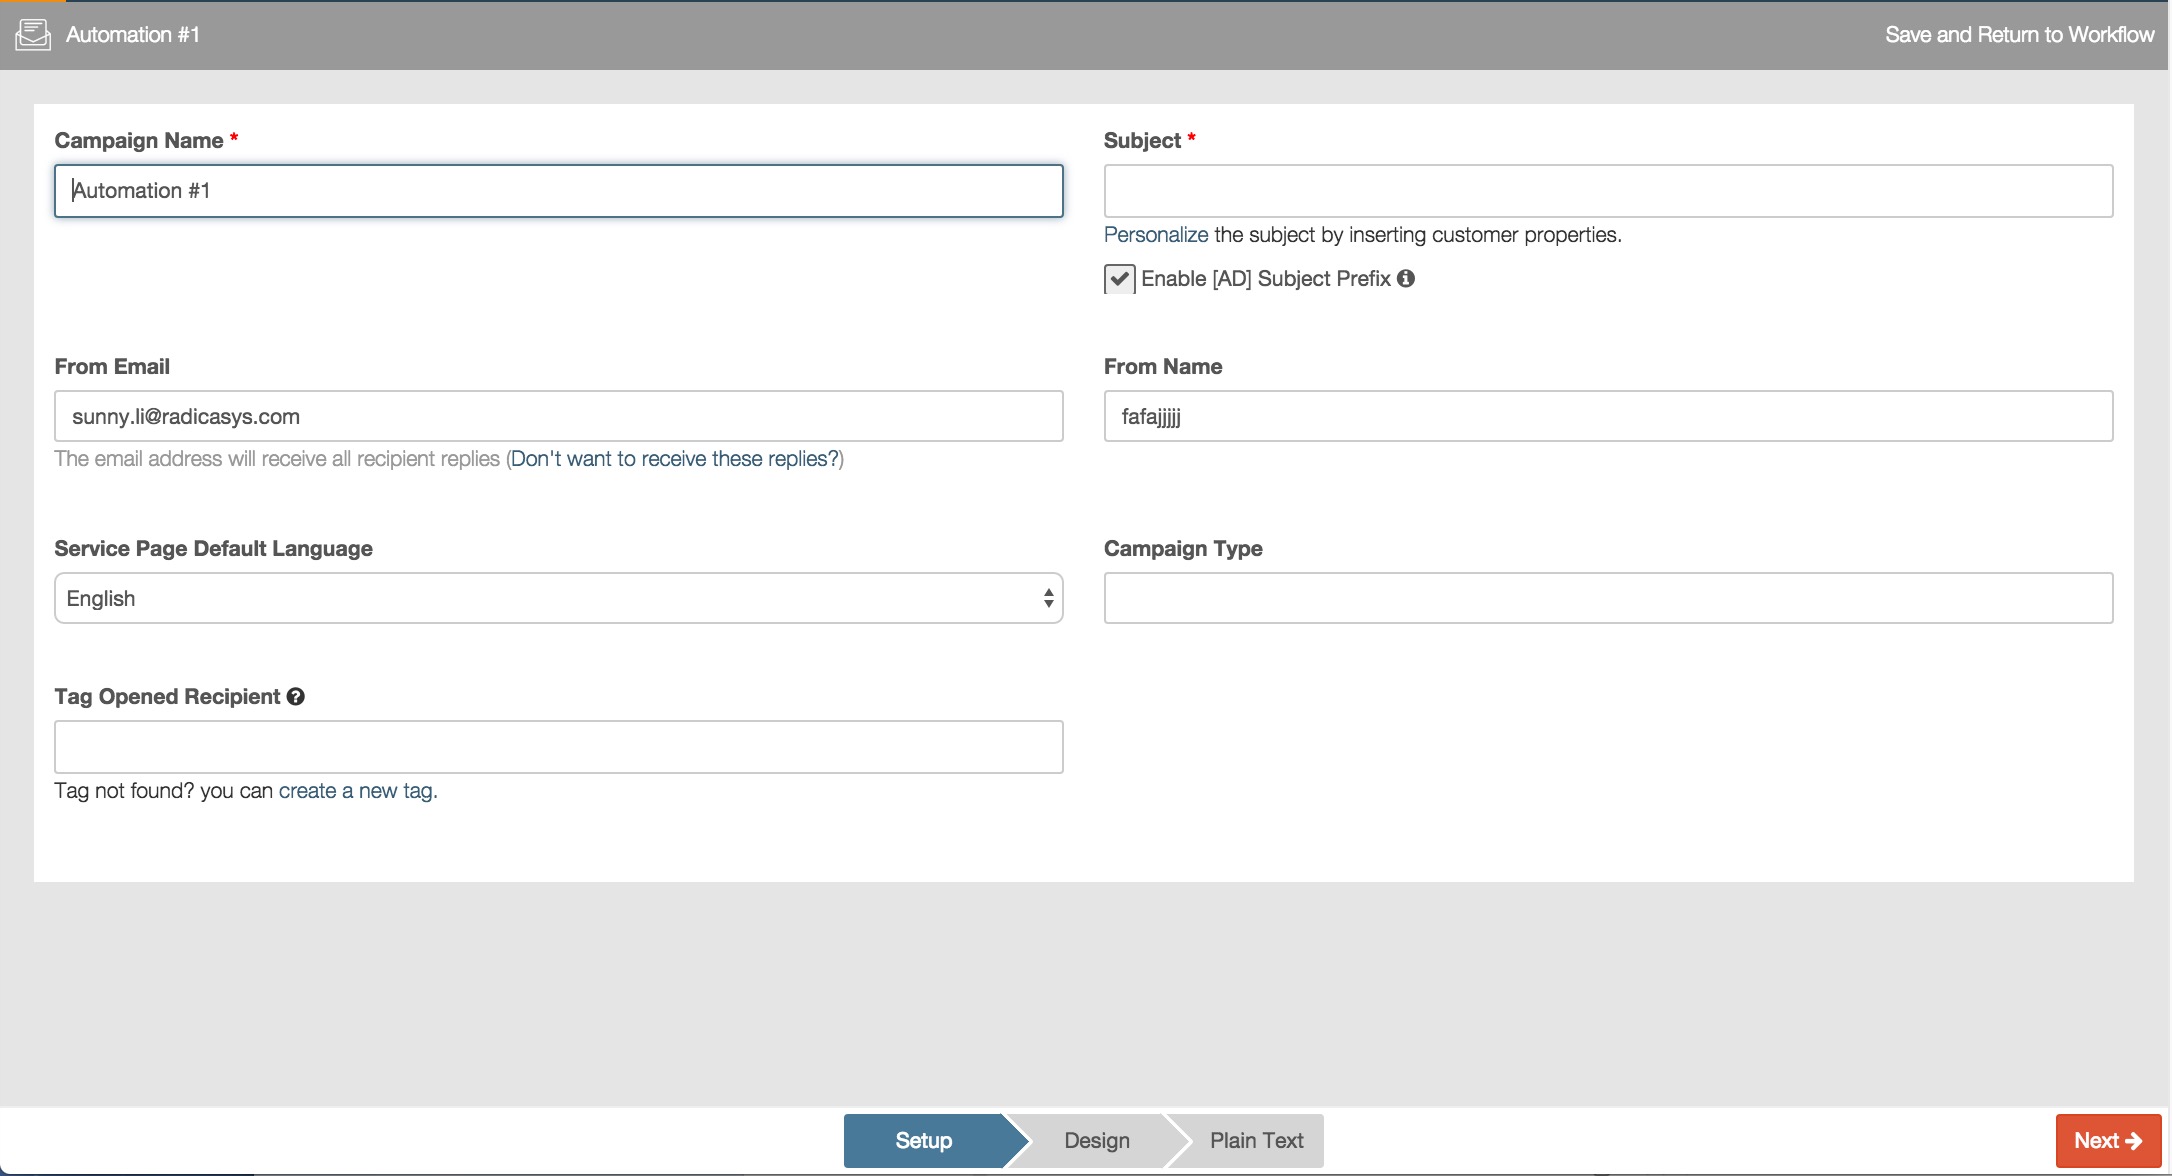
The edit steps of campaigns in an automation flow are basically identical with regular campaign setting steps. The difference is that the setting steps of campaign in automation flow don’t include the confirmation step because the campaign information is finally confirmed together with the automation flow information.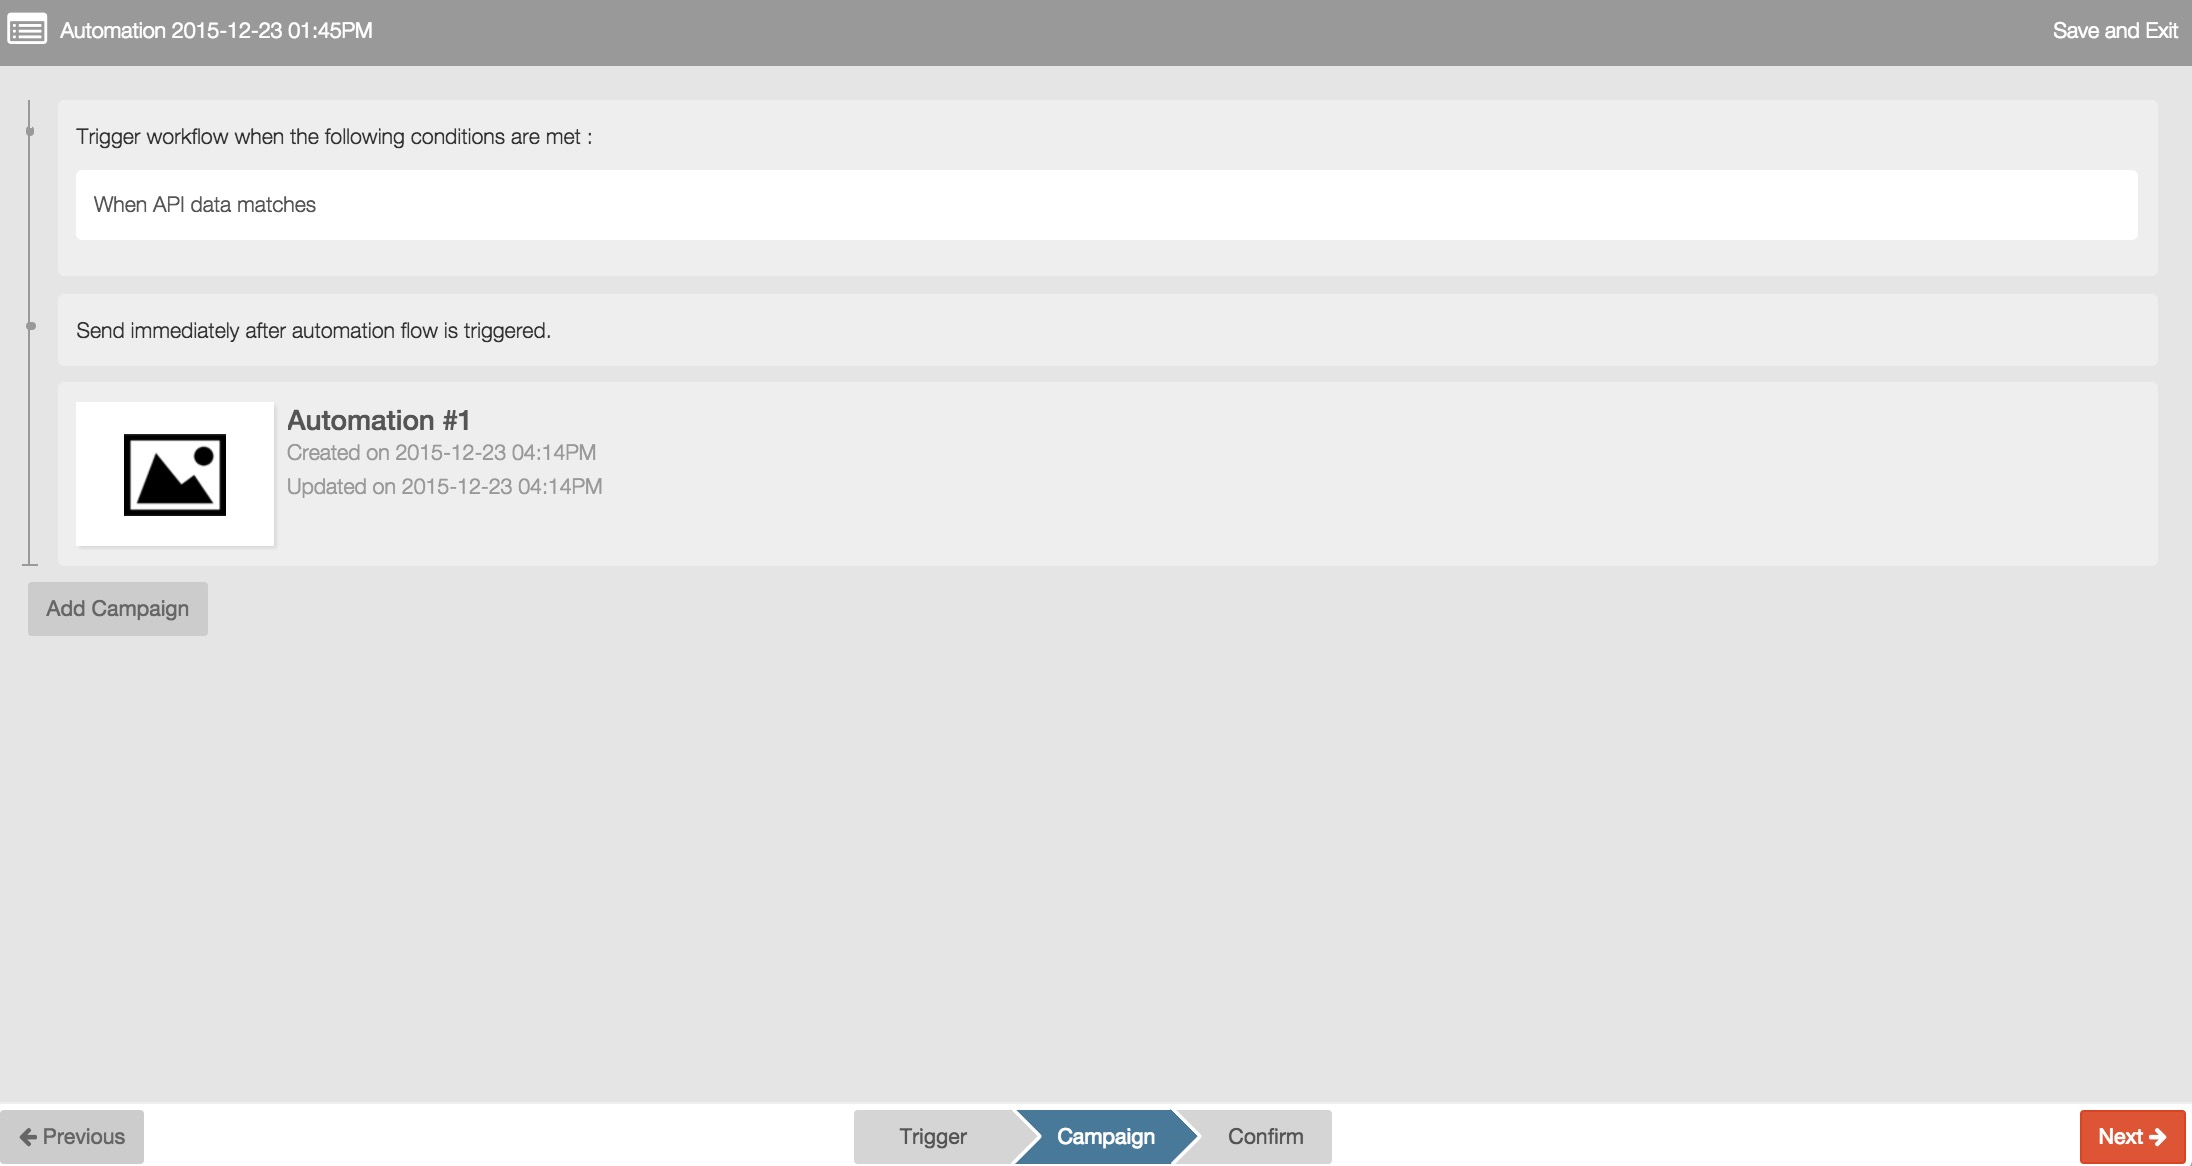
After you finish all campaign information settings, you can click  to save your campaign and return to automation flow.
During campaign setting process, if you want to quit campaign setting steps, you can click the button  at the right top corner of each campaign setting page to save your campaign information and directly return to automation workflow.
Delete campaign information
You can delete a campaign from an automation flow.
- Move your mouse over a campaign and click
 .
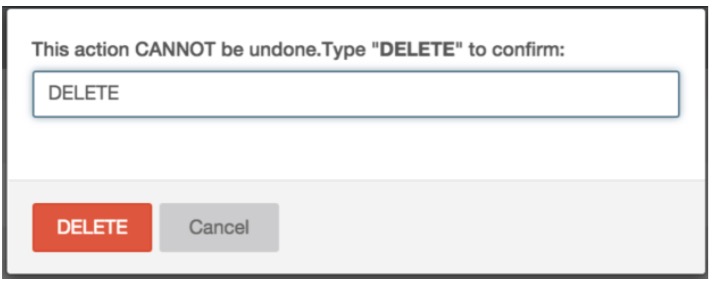
- The confirmation message box will pop up.
- Input ‘DELETE’ characters and click DELETE button to permanently delete the campaign from the automation flow.
Edit campaign schedule and condition
The campaign schedule is connected with each added independent campaign, which means when users add a new campaign, they also need to set campaign schedule for this campaign. The subsequent campaign is triggered to send according to recipients’ behaviour of previous campaign and preset schedule.
First campaign schedule
The First campaign will be sent immediately after the automation flow is triggered. After the automation flow starts, RiMANGGIS will check segment conditions to select recipients according to automation execution schedule and send the first campaign to recipients who meet the automation trigger condition.

Subsequent campaign schedule and trigger condition
For other subsequent campaigns after the first campaign, the default schedule is ‘to opened customers, and send 7 days after previous campaign’. You can not only set campaign schedule, but can also set the trigger conditions according to customer behaviour or campaign results of previous campaign.
You can edit subsequent campaign schedule and trigger condition by the following steps:
1.Move your mouse over the campaign schedule and click .

2. The campaign schedule will become editable status. Firstly you need to set the subsequent campaign trigger condition. There are four behavior options including “sent”, “opened”, “clicked”, “not opened”, “not clicked”.
– Sent: current campaign will be scheduled to send after previous campaign is sent.
– Opened: current campaign will be sent to recipients who opened the previous campaign in the scheduled period.
– Clicked: current campaign will be sent to recipients who clicked the previous campaign in the scheduled period.
– Not opened: current campaign will be sent to recipients who have not opened the previous campaign in the scheduled period.
– Not clicked: current campaign will be sent to recipients who have not clicked the previous campaign in the scheduled period.
You can click the trigger condition setting field and select behaviour options from drop down list.

3. After you set the campaign trigger condition, you need to set the campaign-sending schedule. There are four schedule options including “as soon as possible”, “hour(s)”, “day(s)” and “week(s)”.
– For schedule of “as soon as possible”, the campaign is triggered based on user behaviour, which means the campaign will be sent as soon as possible to recipients who match the specified behavior trigger condition.
– For schedule of “hour(s)/day(s)/week(s)”, the campaign is triggered according to users’ behaviours in specified time period, which means campaign will be sent at specified time to recipients who match the specified behavior trigger condition.
Firstly you need to select the schedule options, and then set your schedule value.

4. After you finish the schedule and trigger condition, you can click to save your settings.
After you finish campaign step, you can click to enter automation confirmation page.