
You need to check the information integrity of campaign before sending campaigns.
1. Click ‘Confirm’ to view campaign confirmation page.
- The green tick symbol indicates that the content of listed item is complete and ready to be sent.
- The red cross symbol indicates that the content of listed item is incomplete and needs to be completed.
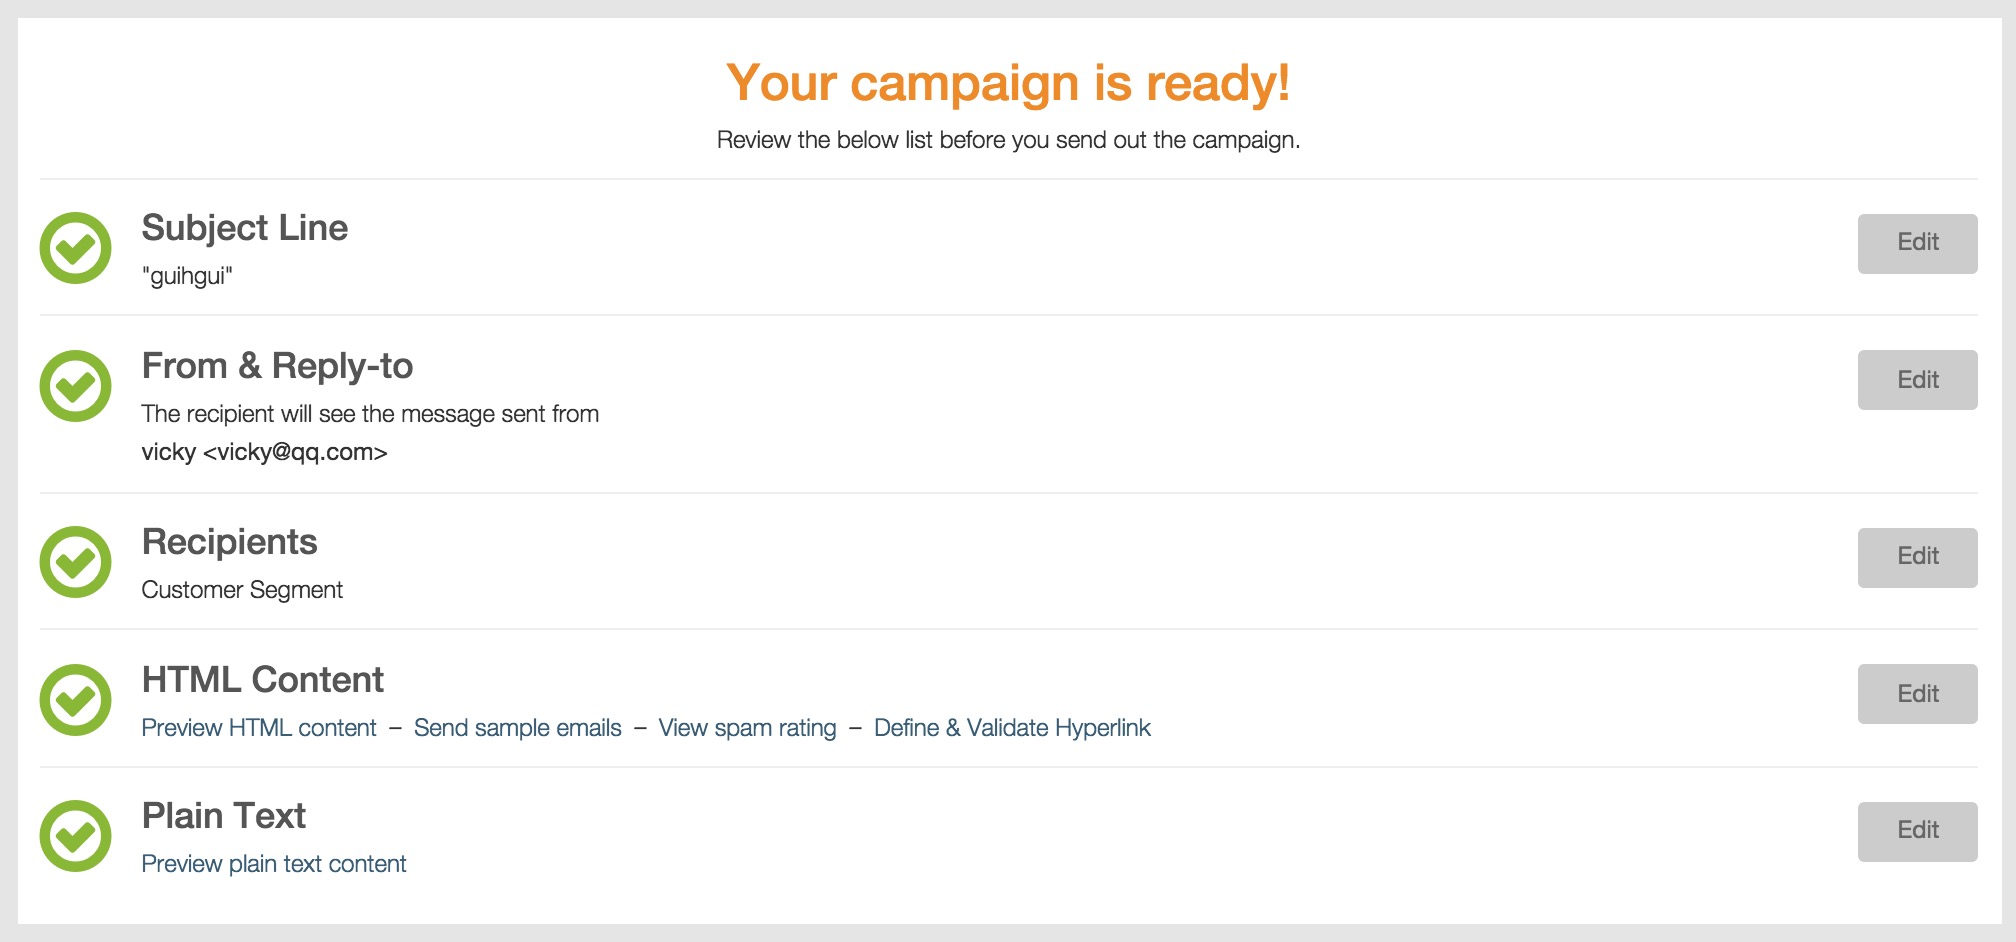
If all the listed items are marked with green tick symbols and the notice word ‘Your campaign is ready’ displays in the page, it indicates that your campaign is complete and is prepared for sending.
You can click the edit button besides the column of each items to edit the content in corresponding page.
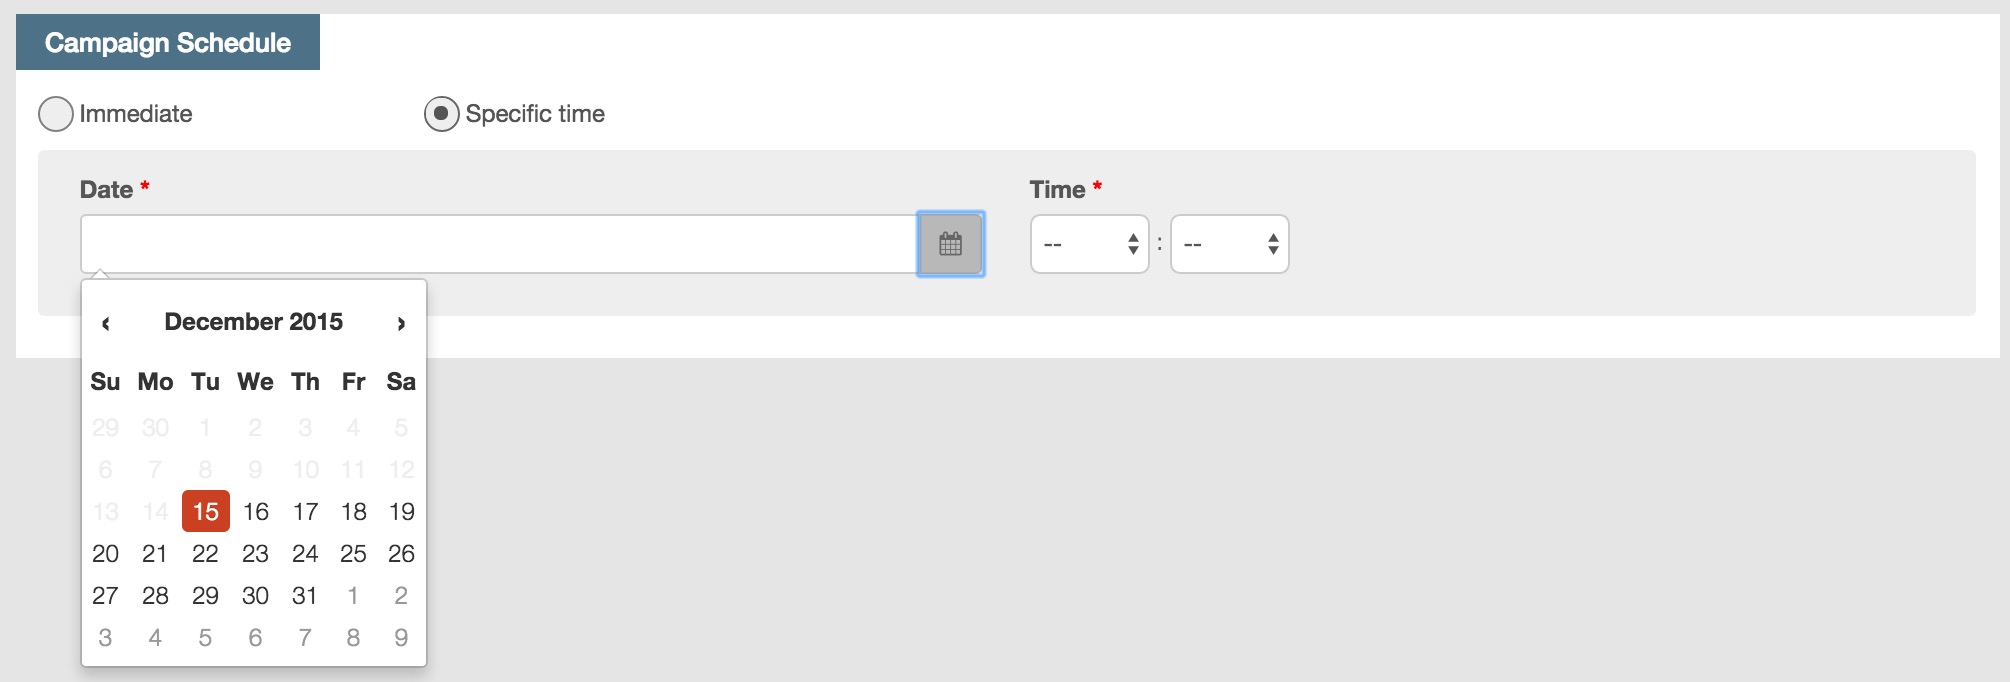
2. You need to set your campaign sending schedule as ‘Immediate’ or ‘Specific time’.
- For immediate schedule, campaigns will directly send out after approval.
- For specific time schedule, you need to specify the date and time for campaign sending execution.

Specific time schedule
- Input the date value in ‘xxxx‐xx‐xx (Year‐month‐date)’ format or click the calendar icon to select the date from drop down calendar list.
- Set the campaign sending time.
3. Save and send campaign
Users with different rights will get different results after saving campaigns.
- If you are a user with “Approve campaign” privilege, you can click
 to store the campaign in database. The campaign will be pending status, it can be sent out only after approval.
- If you are a user with “Approve campaign” privilege, you can directly click
 to save and approve campaign. The following message box will pop up to remind you to confirm sending campaign after you click ‘Save’.
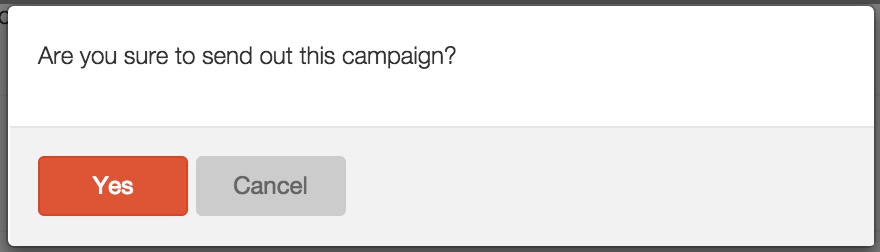 Click Yes to approve and directly send out the campaign.
Click Cancel to quit campaign sending.