
Email campaign is used to create single email channel campaign, if you only want to send email to your customers, you can use this function.
In new campaign page, click the ‘Email Campaign’ to create a regular email campaign.
You can enter multiple channel campaign flow by the following steps:
- Click ‘Campaigns’ in database menu to enter manage campaigns page.
- Click
 in the right corner to enter new campaign page.
- Click “Email Campaign” icon to enter email campaign flow.
Setup
You need to complete following information settings in set up step:
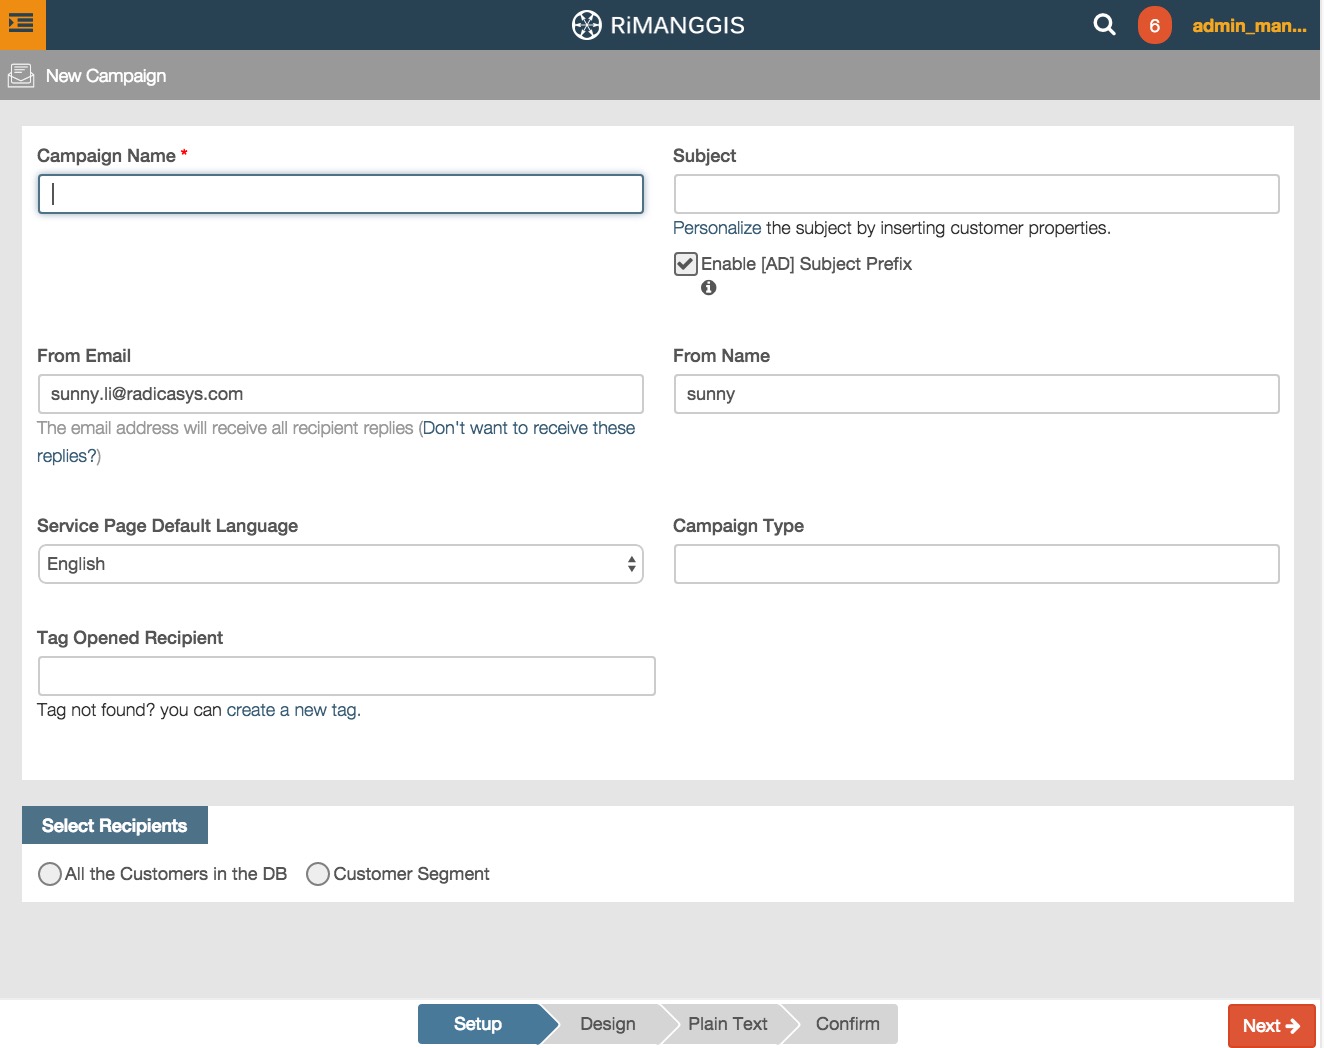 Set your campaign name
Give this campaign a unique name so that you can find out this campaign easily in your database.
Subject
Define the subject for this campaign.
- You can click Personalize below Subject field to quote the merge tag of the customer properties into subject name.
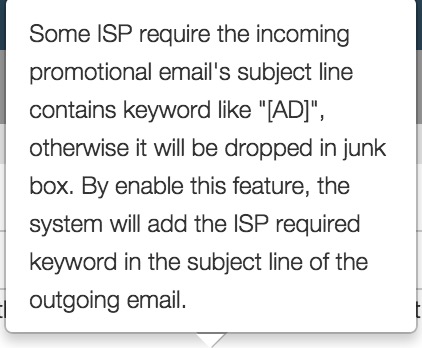
- RiMANGGIS checks the option ‘Enable (AD) subject prefix’ by default for your campaign. The prefix title (AD) will be added to those ISPs which require subject of promotional message must include the prefix title (AD). This setting helps you to minimize the risk of campaign emails being treated as spam.
(AD) be will added to the following ISP:
NetEase: 163.com, 126.com, yeah.net, vip.163.com, vip.126.com, 188.com, qq.com
Sina: sina.com, sina.cn, vip.sina.com.
If you want to know more information about the (AD) prefix, you can move your mouse onto the icon  beside the check box and get detailed information.
From Email & From Name
The two fields are used to define the sender name and email address of this campaign. The field ‘From name’ helps recipients to recognize who send out this message. A familiar name may increase their willingness to open campaign emails. The email address filled in ‘From Email’ field will receive all recipient replies by default setting. If you don’t want to receive replies, you can click the indication message ‘Don’t want to receive these replies?’ below ‘From Email’ field to specify an email address and name in ‘Reply‐to Email’ and ‘Reply‐to Name’ fields which will receive all the replies.

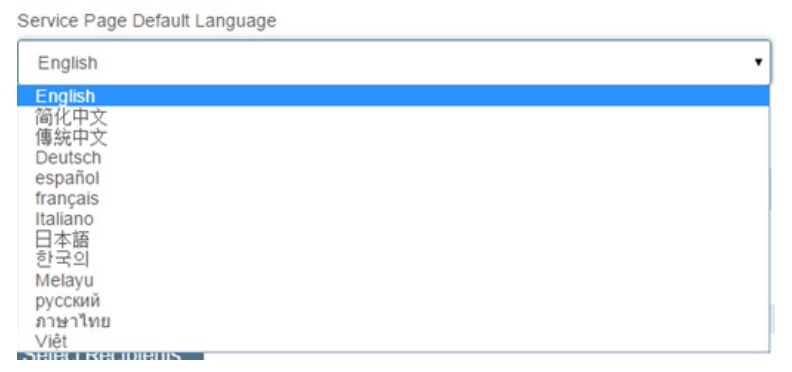
Service page default language
Service pages contain Forward‐to‐Friends and Unsubscribe pages in campaigns. You need to configure default language for service pages, and you can configure other additional languages for your service pages in Service Page Label. When recipients open forward or unsubscribe pages, RiMANGGIS will firstly detect their browser language, and then display matched language page with preset content in Service Page Label. If the detected language of browser is not available in RiMANGGIS, the service page will display in default language.
Campaign Type
You need to specify the type of your campaign. When recipient unsubscribe campaigns, they can choose the unsubscribe type of campaigns. RiMANGGIS sets four default campaign types: Promotion, eNewsletter, Event and Others.
Select the campaign type from drop down list for your new campaign.
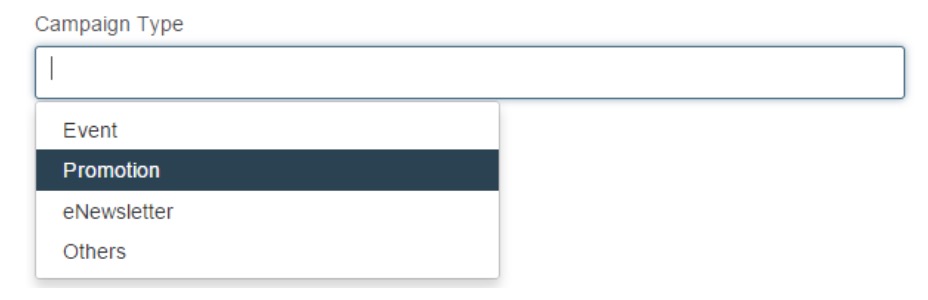
You can also input text content in this field to define the campaign type by yourself.
Tag Opened Recipient
Tag open recipient is used to add customer records to tags according to customer behavior(open/click).
You can configure multiple tags for your new campaign.
1. Click the field of Tag Opened Recipient to view all tags in database.
2. Select tags for your campaign.
Select recipients
You need to set the recipients range for your campaigns.

• All the customers in the DB
All customers in database except bounced, spammed or unsubscribed customers will receive the campaign. You can check this option if the campaign aims at all customers in database.
• Customer Segment
You can set customer segment by tags, properties, behaviors and email domain.
The segment conditions are divided into two types: inclusion condition and exclusion condition.
- Inclusion condition: All the selected customers with this condition will be included in recipient list. You can set included condition in the column of ‘Include customers with following conditions’.
- Exclusion condition: All the selected customer with this condition will be excluded out from recipient list and will not have the opportunity to receive the campaign. You can set excluded condition in the column of ‘Exclude customers with following conditions’.
The segment rules setting steps for inclusion and exclusion are identical.
Segment rules setting steps:
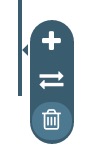
- To set selection rules, you need to move the cursor near the blue line and the selection menu displays
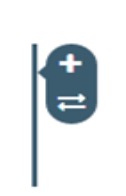
- The symbol
 is used to select the options for segment rules.
-
The symbol
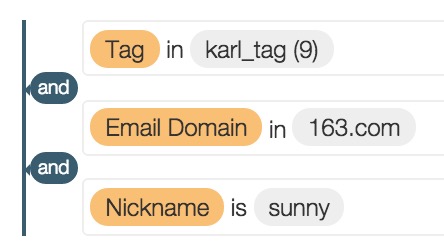
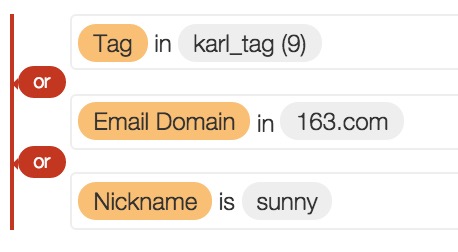
 is used to switch the logical relations between selected segment options and is described as and/or group relations. In ‘and’ logical relation, all customer records which satisfy the selected segment options will be selected. In ‘or’ logical relation, any customer records which satisfy any one of the selected segment options will be selected.
2. Move your mouse over to display the options of selection rules and select the logical relation between selected options. Five options are provided to users for setting selection rules: tag, demographic, email domain, campaign behaviour, and device.
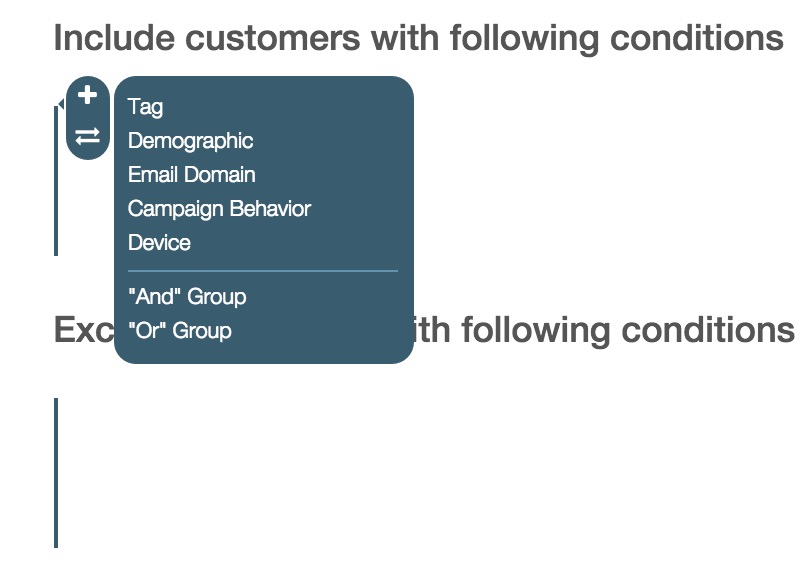
3. Click the option and select items for segment rules. The method for each option selection is clearly described in Customer segment options description.
- Click the tick
 to confirm your selection
- Click
 to cancel your selection.
- Click
 to delete your selection.

4. Click ‘And’ Group/ ‘Or’ Group to add new rules in secondary level. You can create at most three levels including the main level. Click  in current level menu to delete the whole level rules.
5. The default condition relation is ‘and’ relation which displays in dark blue color line. You can click to switch the condition relation into ‘or’ relation which displays in red color line.
“and” relation
“or” relation
6. After you finish segment rules setting, you can click ‘See How Many Customer involved’ to view the number of customers selected according to segment rules. If you have changed your rules setting, you can click ‘Refresh’ to view the updated number.
Segment rules setting example:
A user needs to send campaign emails to female customers included in tag VVIP who are born in September or July, the user can set following segment rules as inclusion condition to select customers.
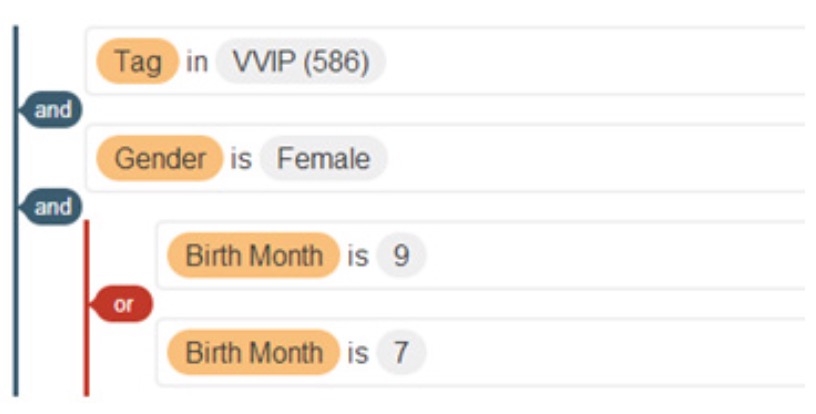
- Click Tag and select the tag “VVIP”.
- Click Demographic and select the “Female” option from the property ‘Gender’.
- Click “Or” Group and click Demographic, and then select the property “Birth Month” to set the value as 9 and 7 separately.
- All the customer records which satisfy the segment rules will be included.
No matter which items of segment options you set for rules, you can make 10 rules at most.For detailed description about segment conditions, please refer to Customer Segment Options Description
Duplication Option (Available after V1.0.3)

By default (If this box is not ticked), all customers, even if 2 customers having same email address (But with different External ID) will receive the email. If this box is checked, system will only send 1 email to customers who have the same email address. The customer record that is most recently updated will receive the email.