
You can choose to add a new customer instead of import customers by batch.
- Open your database side menu and click “Customers” to enter manage customers page.
- Click the button “Import Customers” and select “Add a new customer” from drop down menu.
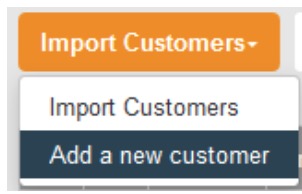 Then you will enter new customer page.
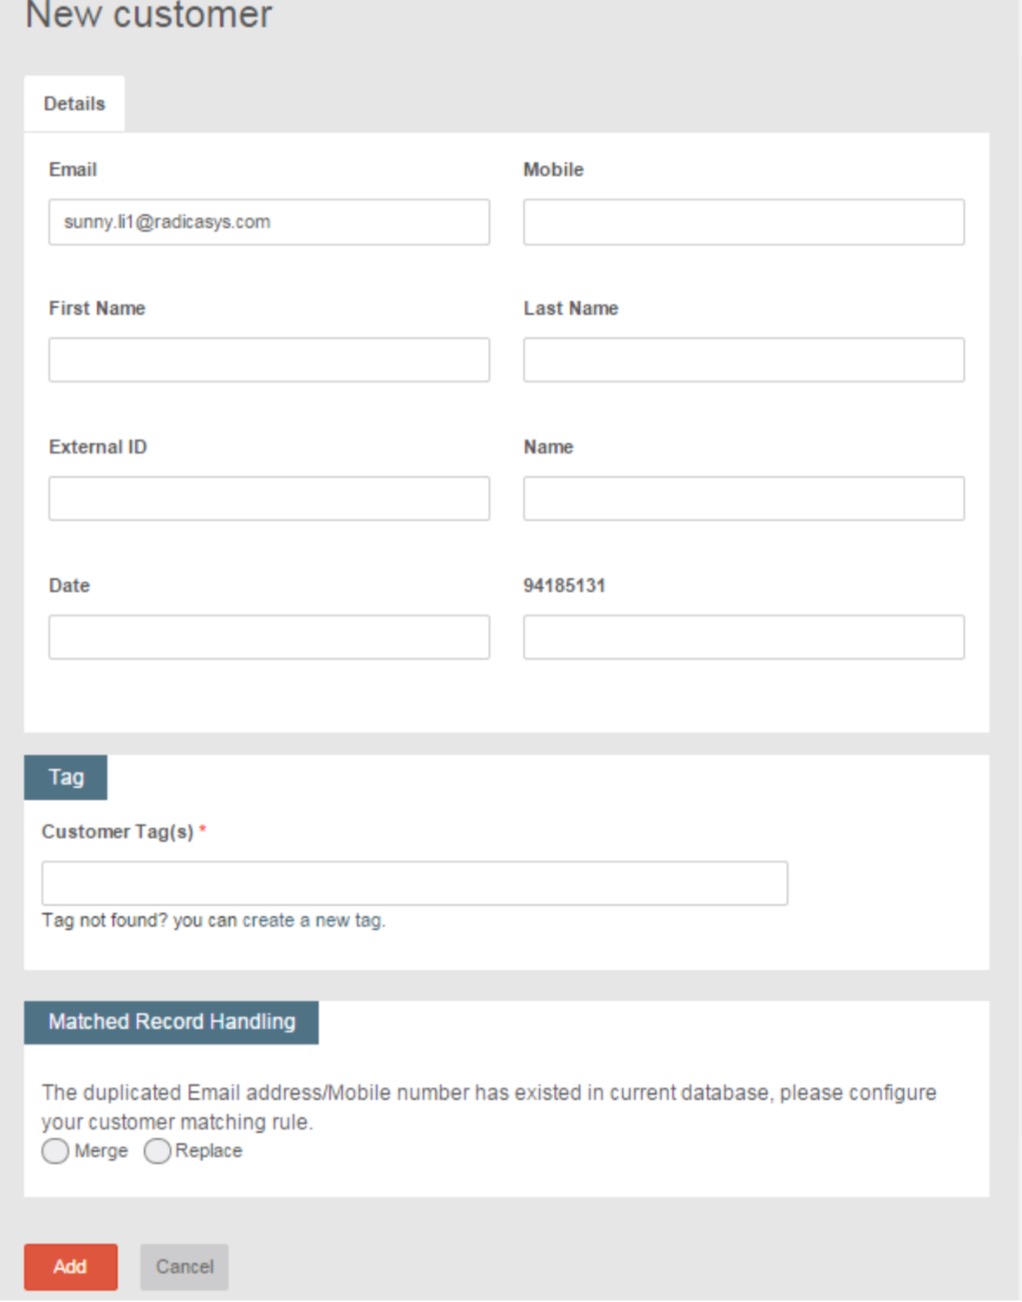
In this page, you must input either Email address or mobile number.

The “external ID” can be empty, unique or duplicated. If the External ID is unique, no matter the Email field or Mobile field is duplicated or not, the customer will be added as a new customer and can be successfully added.
After you finish properties setting, you need to select at least one tag for newly added customer.

If the Email address or Mobile number is duplicated with empty or duplicated external ID, the block “Matched Record Handling” will display. You need to select the record handling methods.
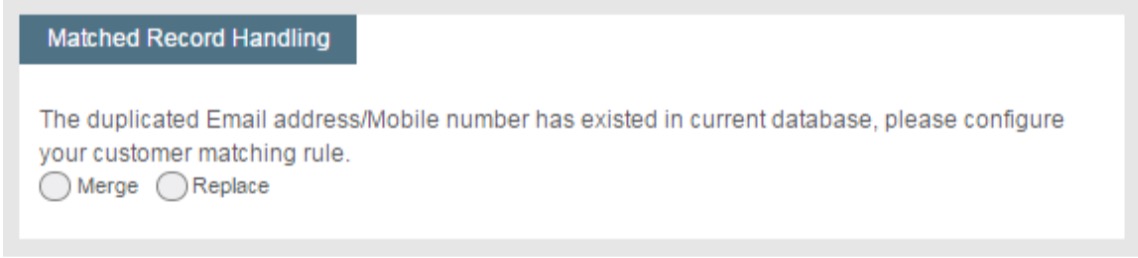
- Merge: if users choose this option, RiMANGGIS will replace the newly added customer into the record with the same email or mobile in database. For empty external ID, the new customer record will be merged into the same email or mobile record with empty external ID in database. For duplicated external ID, the new customer record with be merged into the record with same external ID.
- Replace: if users choose this option, system will replace the newly added customer into the record with the same email or mobile in database. For empty external ID, the new customer record will replace the same email or mobile record with empty external ID in database. For duplicated external ID, the new customer record with replace the record with same external ID.
After you finish properties and tag setting, click to save newly added customer and you will view the following page, you can click  to save newly added customer and you will view the following page.
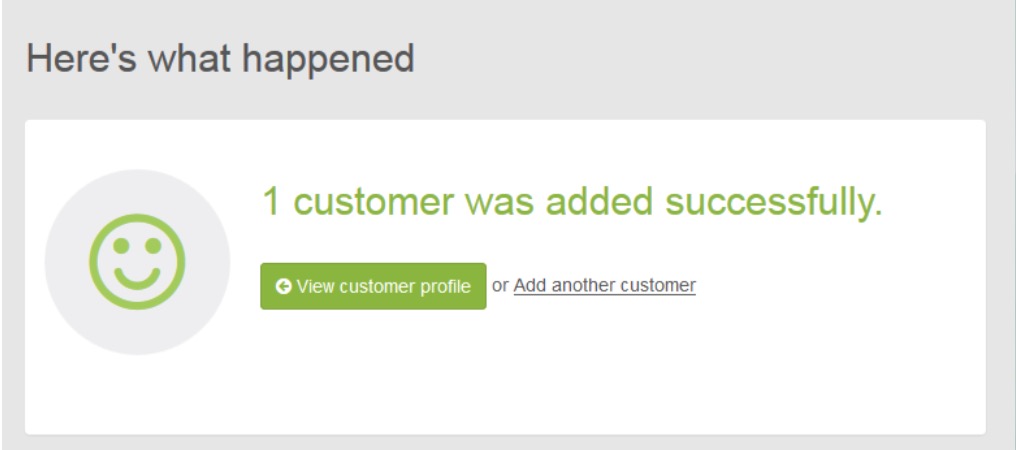
In this page, you can click “View customer profile” to enter the profile page of the newly added customer, or click “Add another customer ” to enter new customer page.
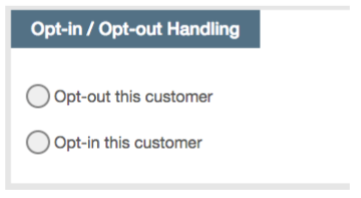
You will also have to specify the opt-in / opt-out status of this customer. Select opt-out this customer if you want to unsubscribe him/her. And then you also need to select the channel and campaign types you want to opt-out. Note that the opt-out is executed in an update basis instead of a replace basis. For example, customer A, who is a customer existing in the database, is unsubscribed from campaign type A. You add customer A again and select opt-out him from campaign type B. After that, customer A will be unsubscribed from both campaign type A and campaign type B.
Select opt-in this customer if he/she is not an opt-out customer.
If you enter an existing customer (system will detect this by External ID > Email > Mobile), you will also have the choice of “Do not change the unsubscribe status of this customer”.
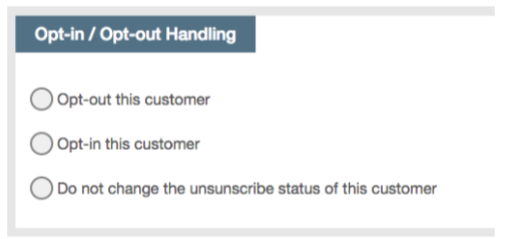
By selecting this option, the unsubscribe status of this customer will not change.