
Automation Overview
The concept of automation is to help users to send a series of automated campaigns base on trigger conditions. Users can set segment conditions to specify automation recipients, and then users can set a trigger condition, trigger schedule and execution period. Based on users’ trigger settings, RiMANGGIS will automatically send trigger campaigns to specified recipients who match the trigger condition according to trigger schedule in automation execution period.
Currently, RiMANGGIS automation function supports time trigger condition according to customers’ date properities. For example, a user wants to send a birthday greetings campaign to his or her customers on current day of customers’ birthday, and then after 3 days he or she wants to send the second coupon campaign to customers who have opened the birthday greetings campaign. With our automation function, he only needs to select recipients and set trigger condtion to realize the automatic automation campaign sending.
About automation steps
The automation workflow includes three steps: Trigger->Campaign->Confirmation
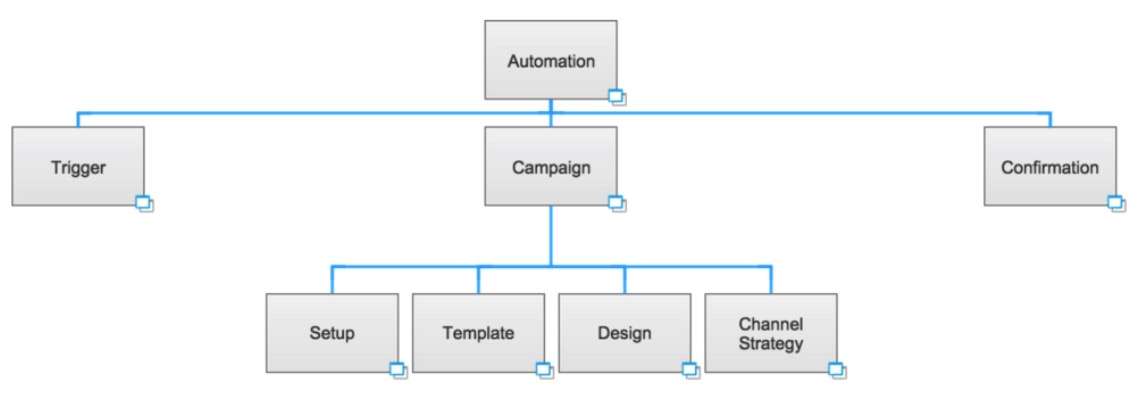
Open your database sidemenu and click ‘Automation’ to enter automation management page.
If you haven’t created any automation campaigns, you will view the following indication information.
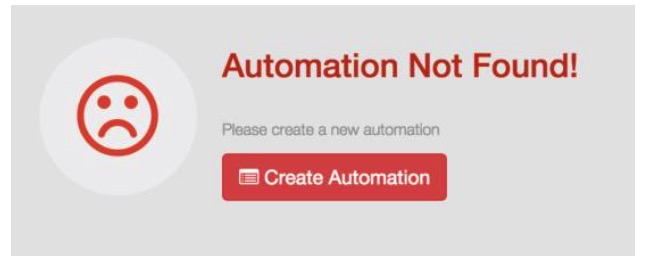
You can click the button to enter new automation page.
You need to finish your new automation flow setting by three steps: trigger, campaign and confirm.
- Set your automation flow basic information including automation name, recipient segment and trigger condition, automation execution period and period. Please refer to 1.2.1Trigger setting step for details.
- Add and edit campaigns in your automation. Please refer to 1.2.2Campaign setting step for details.
- Confirm all your automation setting information and its included campaign information. Please refer to 1.2.3 Confirm automation and campaign information for more details.
After your automation is confirmed, you can start your automation flow.